Whether you have children eager to help or new volunteers wanting to participate in your woods, you are undoubtedly familiar with the tug-of-war. On one side, you want to get new hands engaged and interested. On the other hand, if you want something to be done right the first time, do it yourself! At the Ohio State Mansfield sugarbush, I am constantly balancing the need to get volunteers into the woods while still maintaining standards of quality and efficiency. Here are a few tips that we use to make sure our volunteers are a help and not a hinderance. Hopefully you can use one or more of these ideas to streamline your own efforts to reach this delicate balance.

Precision tappers are expensive, but precision tappers are also efficient and effective at controlling the single most important activity in your woods – tapping! Precision tappers allow you to set the exact tapping depth and reliably expect that the grip points on the end of the device will result in a steady straight taphole each and every time. While they are costly, our taphole consistently went through the roof when we employed these this sap season for the first time ever. Precision tappers are probably not for the average producer, but if education and outreach is a central part of your mission, they may well be worth the cost.
An extra step for ensuring excellent tapping is to clearly mark your tapholes at season’s end with a dot of forestry paint. If you are employing geometric tapping (e.g, over 3 inches-up 6 inches, over 3 inches-down 6 inches, …), then next year’s instructions simply become “find the [insert color of your choice] dot, space over, and tap.”
While we are on the subject of tapping, choose a sacrificial tree to train your tapping crew. This double-trunked specimen is below our sap shed, has half its crown busted out, and has been tapped no fewer than 100 times in the past 5 years. Our sacrificial tree is a classic “take one for the team” scenario. Drilling a good taphole is only part of proper tapping. How to properly set the spout is just as important, and in my experience, more apt for abuse and mistakes. Repetition with back-and-forth feedback are minutes worth their weight in gold if volunteers or new help tap a significant portion of your woods. Make your mistakes here – not on your production trees.


Lead by example in the sanitation department. If your sap tank is filthy and scummed over, it’s hard to expect your help to take you seriously about sanitation in the rest of the woods. If your tapping gear is mud-caked and filthy, it’s probably a bit hypocritical to expect your volunteer crew to keep your gear spotless and spit-shined. Be diligent about sanitation, speak often about sanitation, and your help will take sanitation seriously as well.
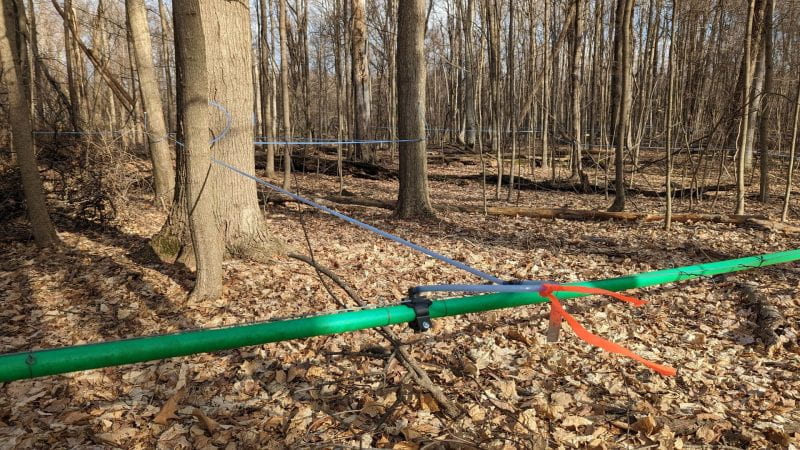
Keep a volunteer’s job simple but always give them a roll of flagging tape to pinpoint potential issues they may run across. If they see something suspect, have them tie up some flagging tape so you can check it out later. Better yet, and particularly useful for keeping track of progress and directions in the woods, if you incorporate some numbering system into your main lines and laterals. Below you’ll see an aluminum write-on tag that we tie on each lateral loop starting with main line number and ending with lateral line number. So in this case, you’re looking at the 3rd lateral line on main line #1. Navigation and giving directions becomes exponentially easier with this numbering system in place.

While we are talking about lateral loops, show your volunteers the rapid visual checks a producer has to ensure their woods are working properly. As volunteers walk the woods, it’s easy to visually confirm that sap is traveling around the loops signaling a functioning system. The same goes for sap flow through the drops into the laterals. If the loops or drops are empty but the rest of the woods is running good, a strip of flagging tape might be warranted.


And lastly, do not realistically expect perfection. I found this double spout tree untapped just last week. It’s too bad we didn’t get this one tapped earlier, but if 1 big tree’s production is the price I pay to get someone excited about maple – that’s a price I suppose I’m willing to pay.
