Research
In the initial process of determining what I wanted to do with my sketchbook, I gravitated towards the basic tutorials of binding a book and creating a cover for one just to start somewhere. Most of the things I did, I did via testing and not so much looking at internet-accessible resources. As we’ll see later down the road, this becomes an issue. I should have done more research. I’ll elaborate on that later!
How to Design a Book Cover
Rounded or Sharp-Corner Buttons?
10 Bookbinding Methods You Need To Know
Exercises
Exercise 1 – Tiny Sketchbook
At the very beginning of the project, I created a small sketchbook. Actually, multiple sketchbooks!

Making these little books helped emphasize the usability of something like a sketchbook. The pages on the little books were really annoying to use as they would flap open and opening it like a normal book would open just simply didn’t work, making it a pain to use.
Exercise 2 – Mind Mapping
After this, I did a little mind-mapping exercise with my table group to understand the process of mind-mapping.

Iterations
This part of the project started with me taking my design problems regarding sketchbooks and trying to solve them. Most of the issues I had were with the reusability, versatility, and size. Taking these issues, I started examining how to make a book reusable and long-lasting. I started taking some notes on some broader things I wanted my book to do such as: being comfortable to use, lying flat on surfaces, versatile and lightweight, and reusable. These are some notes I made to record my thoughts.


In this bottom page, I mentioned a two-tone design. This comes up later.

Looking back at the tiny notebooks, there’s a small one with a black cover on it. That’s a notebook I made to experiment with ring binding! My idea was to use rings as binding because I’d be able to easily pop them open and add paper without having to unbind a spiral or bend a metal clip or, even worse, have no choice at all because it’s bound in leather string.
My next move was to start thinking of designs for my book such as the size, shape, and binding specifics.
I started thinking about size first and foremost. I measured with a ruler a general shape of a 5×7 book, realizing that it would be a little smaller than I was looking for. I then moved onto 6×9 and cut out a piece of paper roughly the size and I liked the size of it. It felt big enough to feel comfortable using and small enough to make a lightweight book. From there, I started looking into the shape of my sketchbook.


I didn’t like the idea of a straight-edged rectangular book. I’ve seen too many, and frankly, the sharp edges aren’t appealing to me. I much prefer subtle curves and more organic features especially since the materials I was considering were wood and chipboard. The curves would make it nicer to hold and more appealing and unique.
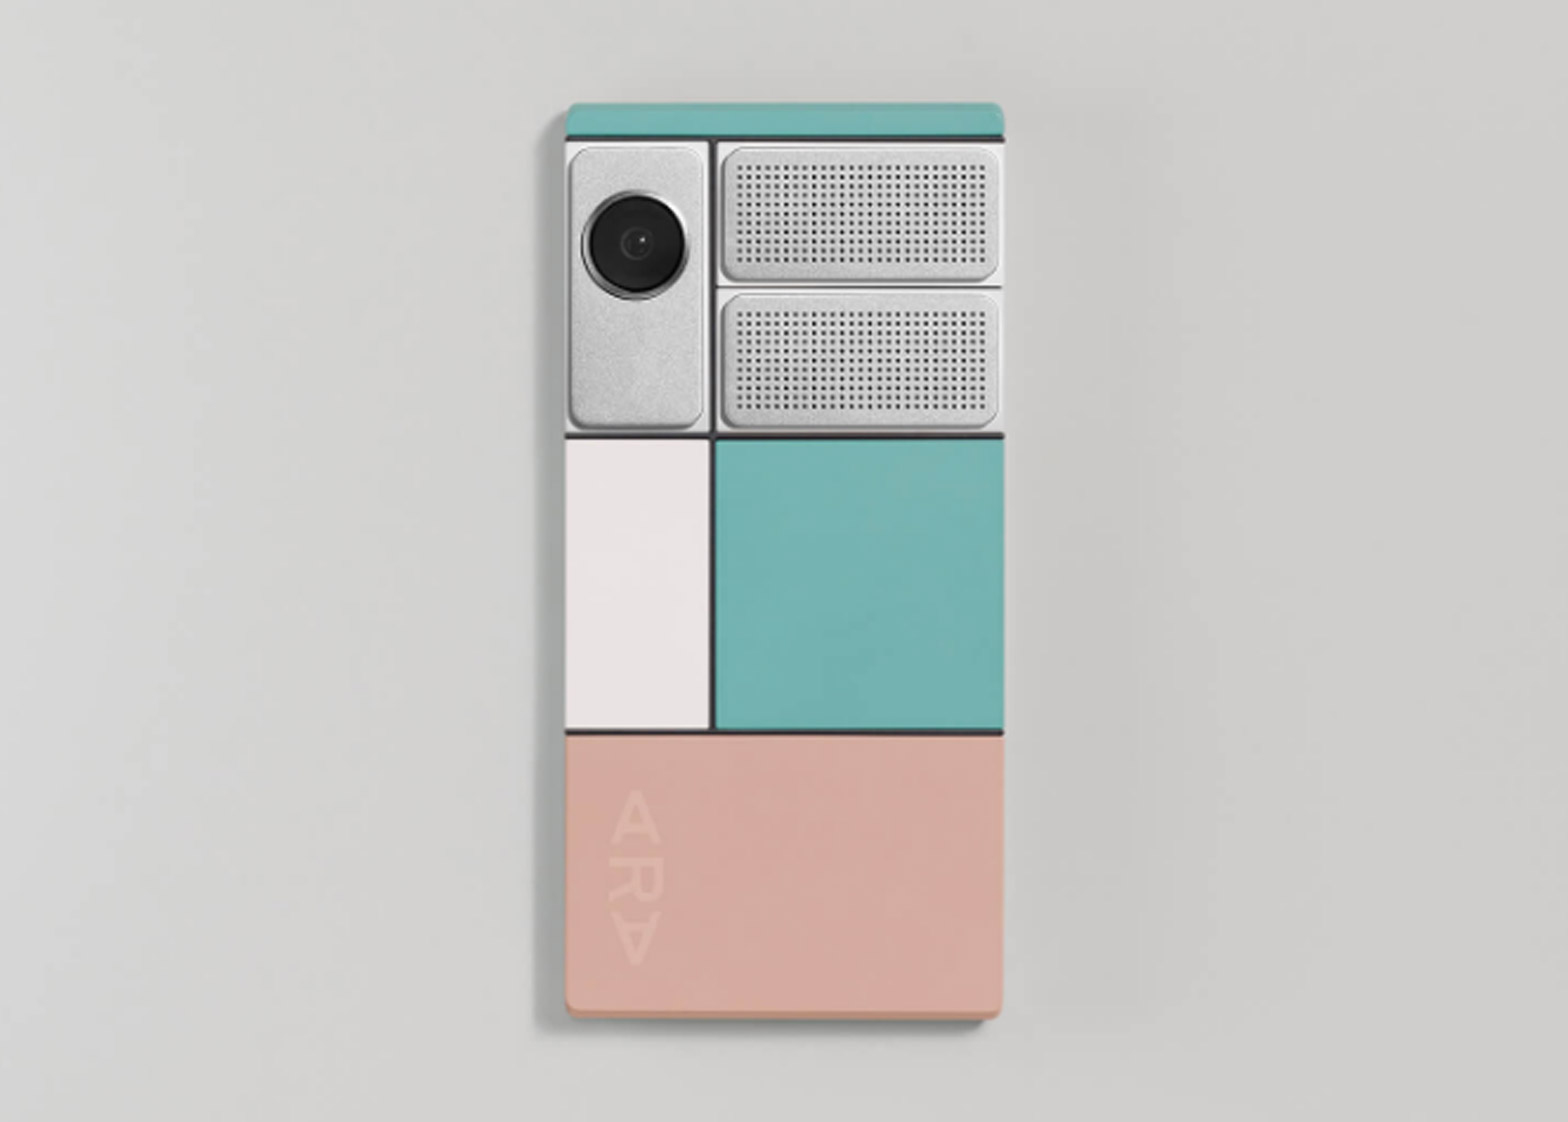
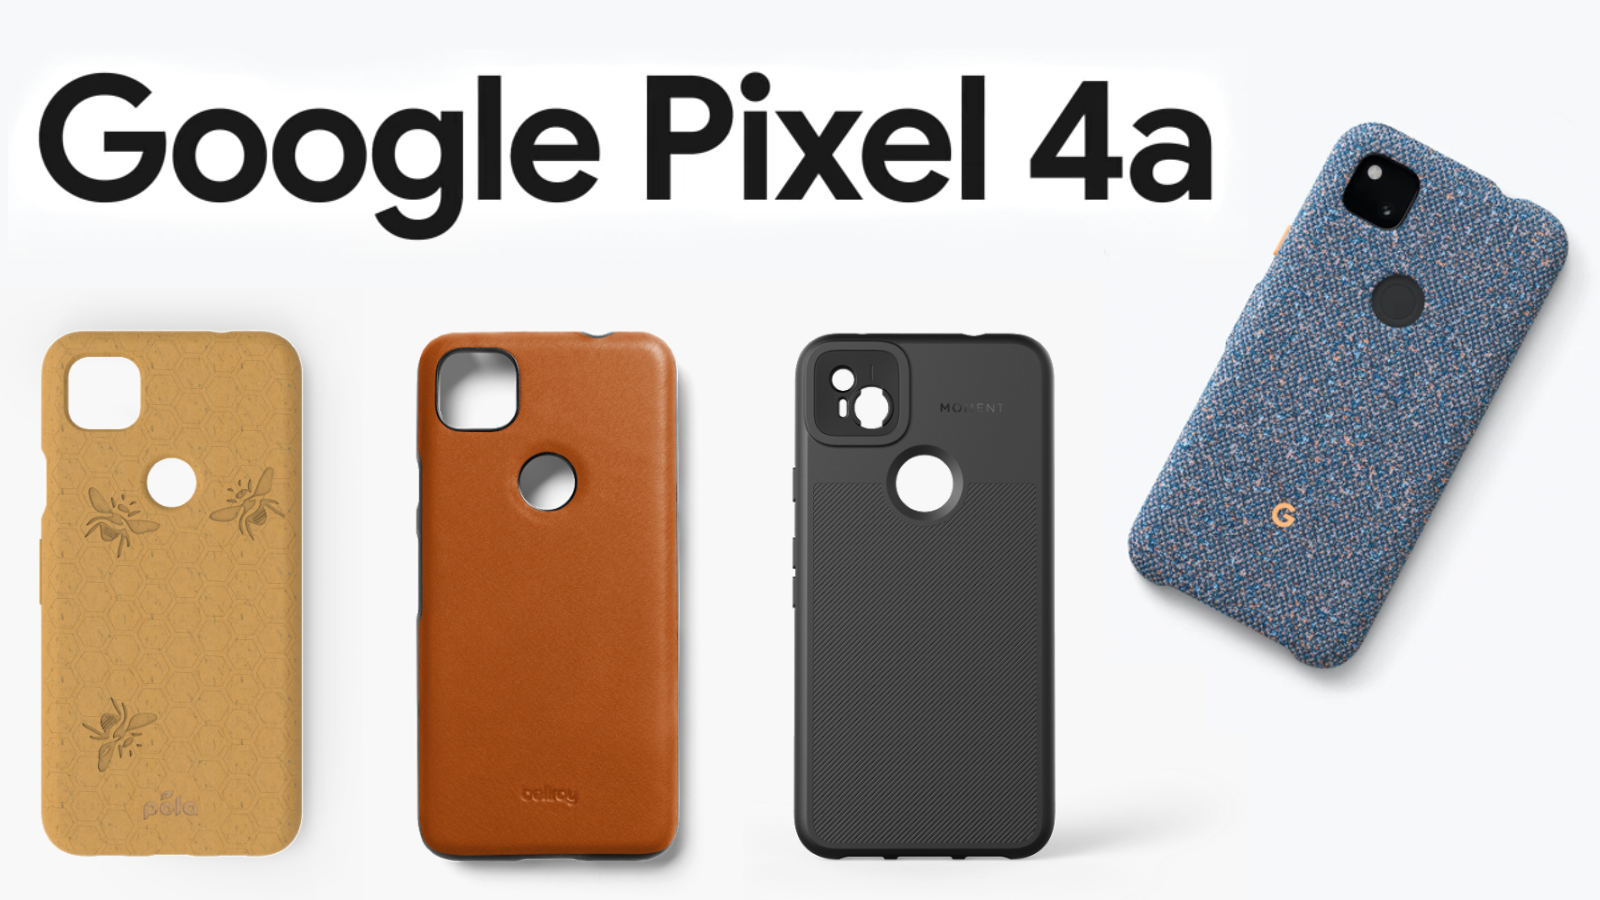
Taking inspiration from phone cases, I wanted my book to be able to look differently and function in different ways as a part of its design. I also was heavily inspired by an old Google project called “Ara” which was a modular phone design that would’ve allowed for phones to have entirely swappable components and also look amazing!

From this, I wanted my sketchbook’s covers to be easily swappable to fit any use case I could think of. I play a lot of DND so a book cover that holds my dice and allows for quick access to an erasable surface would be a great addition or something like a cover wrapped in leather that acts as a standard and simple book cover could easily be applied just by pulling one cover off and snapping on the other. At this moment, I had a pretty solid idea of the direction I was heading with my sketchbook.
The production phase started with solidifying the materials and how I would assemble all of the parts. I planned to utilize magnets for the cover. Magnets would allow me to quickly remove and apply a different cover with ease. As for the paper, I would include just basic blank paper from an old sketchbook unused and then some college rule lined paper for writing. Any other drawing paper (isometric, grid, cardstock) could easily be added in the future so I wasn’t too concerned with that. Next after solidifying the assembly process, I began working on my illustrator vector files. I wanted my sketchbook to have curved edges but with varying degrees. A perfectly symmetrical curved book didn’t feel too special. I knew the book would be 6×9 inches, but as for the shape of that book, I had no clue. Taking a rounded rectangle and then experimenting with the way the cover’s edges would flow with the base of the book, I started coming closer to a final design for all of it.

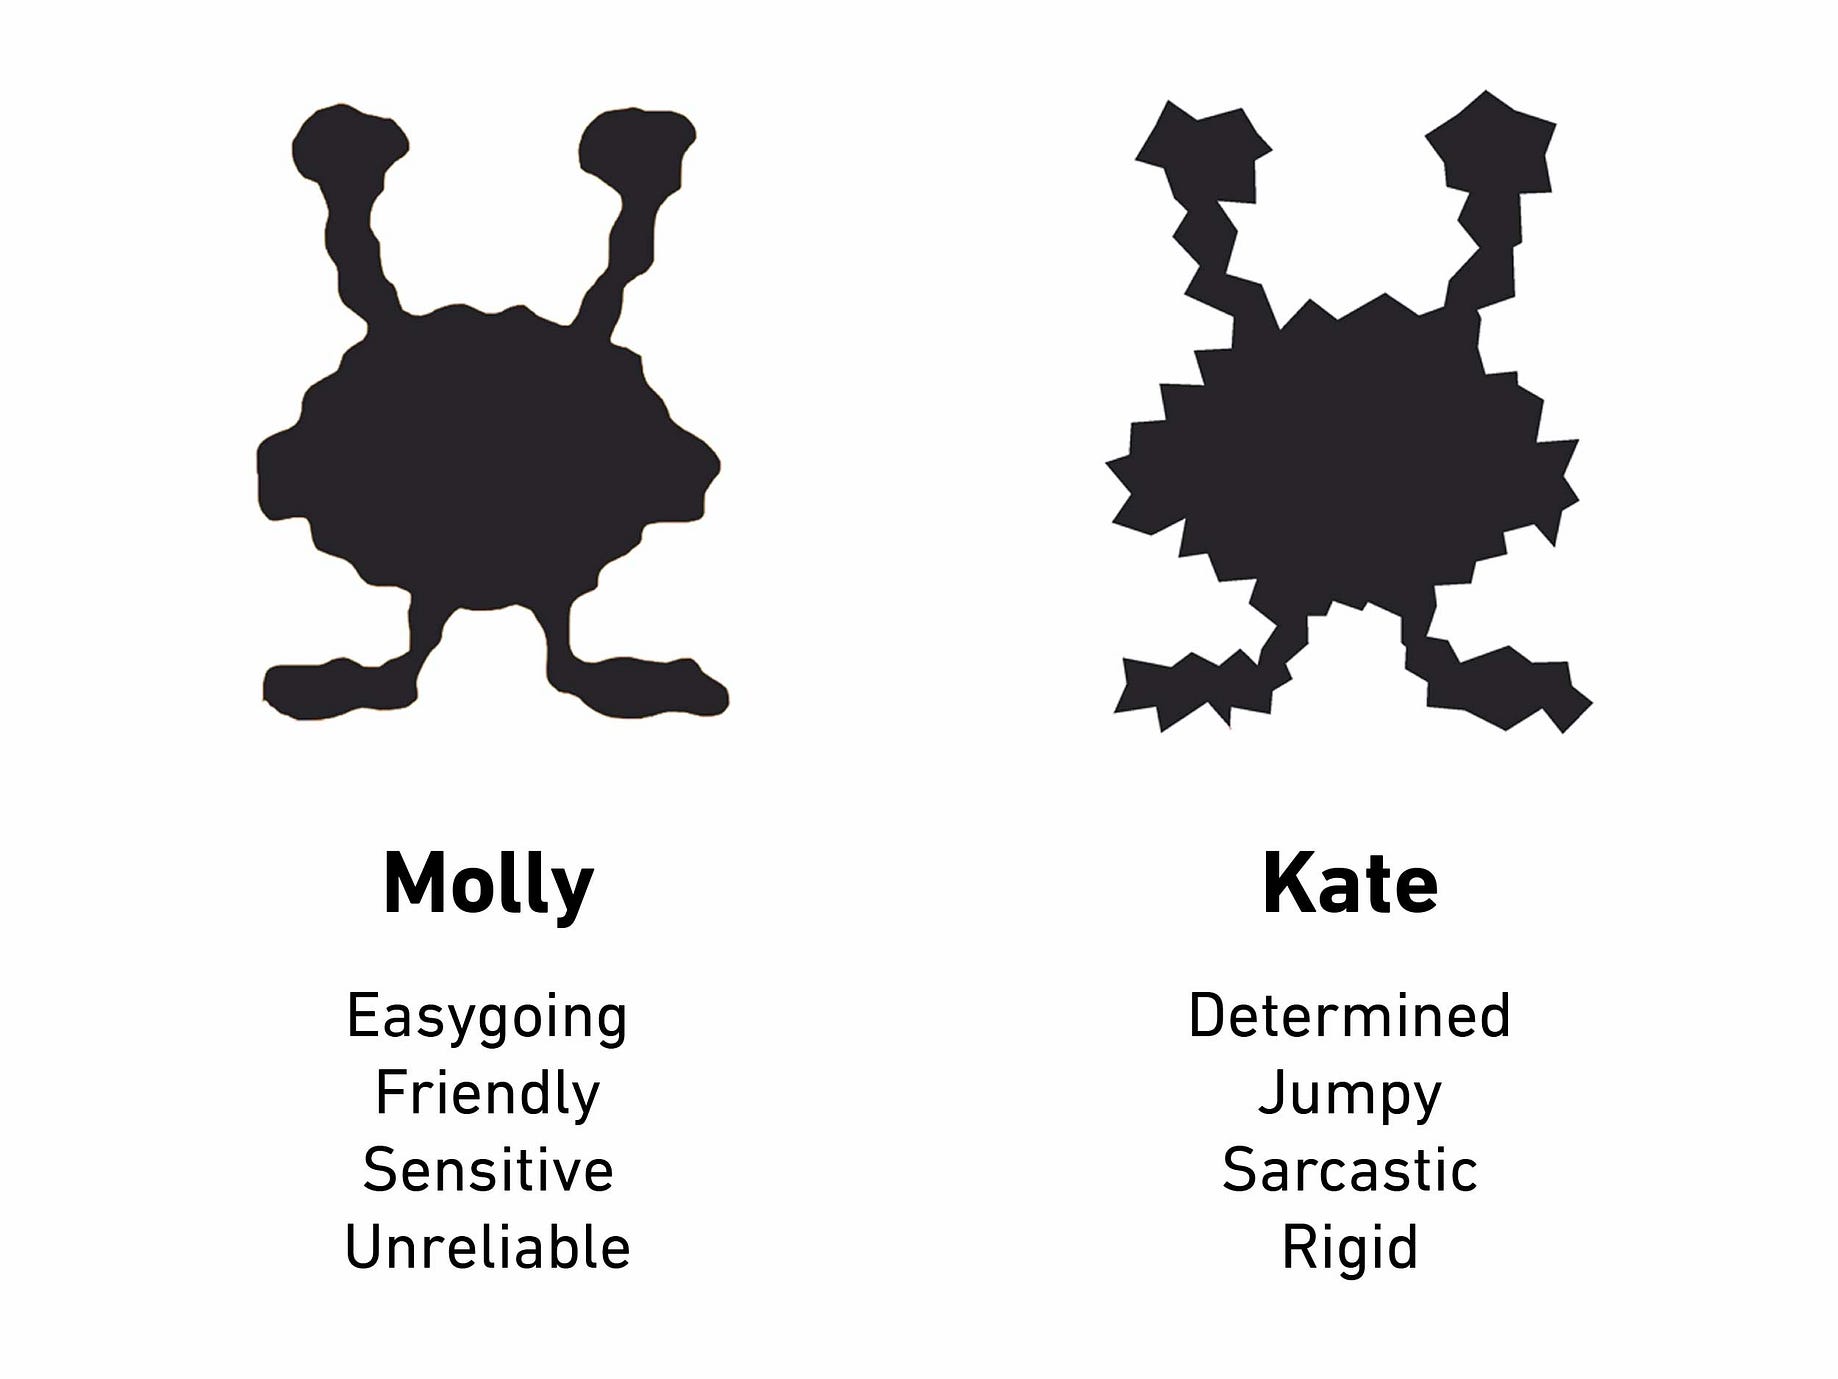
This is a helpful little graphic I found on the website UX Planet. I knew I wanted curved edges for the reason of a more easygoing appearance. The rigidness of straight edges wasn’t appealing. My solution was to create an asymmetrical base cover that the attachable cover would compliment. Here’s what it would look like.


This was my way of implementing a two-tone design. The wood is fairly neutral and can work with a variety of different covers. Assembling the files was pretty simple, I just created a front, back, and cover cutout. Combining shapes, I would create curved shapes and combine them with a normal rectangle of the correct size to create the unique shape of the attachable cover.

I measured out the holes and where the magnets should go. All I needed to do was have it cut and glued together. Nothing bad could possibly happen!
Production
I made a very crucial mistake: I underestimated the amount of testing I truly needed to do. With laser access getting cut off at certain points and it not being available outside of class (most of the time), I figured things would be simple and that I would just coast through this. The magnet arrangement was too powerful and the cover was difficult to remove, the materials I chose were actually dangerous to cut so at the last moment I had to switch to recycled wood from the Innovation Studio. This wood added thickness and weight to the book and was frankly hard to work with thus making the assembly process very difficult. My original binding method wasn’t suitable for the book in its current state so I had to frantically choose a new method that added gaps between the front and back covers.
The book was also super difficult to open which only further solidified my mistakes. The project was almost due and my book was in a horrible state and I felt incredibly hopeless that I could achieve my goals with it.
A moment of quick realization occurred when the magnets actually began tearing off the wood as they were too strong for the book and the glue I had used was insufficient in securing them. My book was breaking, weighed 99 lbs, and could protect me from any number of projectiles and it’s because I underestimated the importance of examination and testing. I thought I had the answers, but they fled the moment the walls started buckling.

I took a moment after this and really assessed what needed to be done. My first decision was to rearrange and decrease the magnets from 4 to 2. Two magnets would be placed on the top and bottom as the cover is more likely to bend vertically (bowing from top to bottom) than from side to side.
I revamped my entire approach and decided on new and safe materials that could easily be cut and were solid enough to give me my desired sketchbook. A wooden front and back would be engraved deeply to allow the magnets to sit flush against its surface and would be more durable. I chose basswood for its lightweight properties and thickness. For the covers, I chose chipboard for its sturdiness and lightweight properties. The image below would become my new working vector file.


The adhesive would be epoxy instead of gorilla glue because epoxy could easily encase the magnet and adhere itself to the sides of the wood and not the etched-into part of the wood which is what ripped off the previous iteration. I etched two 1.16 diameter holes for the magnet and added a design for the back and front. I made the epoxy and applied it inside the magnet slots and it adhered within 20 minutes. After that, I simply applied adhesive to the surface of the magnets and put them on the attachable cover.

Here are some images comparing the new final product and the older product. As you can see, my redesign completely addressed all major issues I found with my previous design and it’s a book I look forward to using and making more covers for!


Final Production


