Though never a consistent hobby, I have done a lot of origami. It is very easy to find written and video tutorials online and the only required material is paper, making it very accessible. I find that following the instructions, when not too complicated, is a nice way to de-stress and arrive at a satisfying end product. This made origami a perfect choice for the experience I wanted to created.
Looking for simple projects that are engaging but not too difficult, I arrived at a specific YouTube video. I had been looking up ways to make basic shapes or objects and this star looked very interesting. I have found this same construction method in other places, but used this video as my main tool for learning.


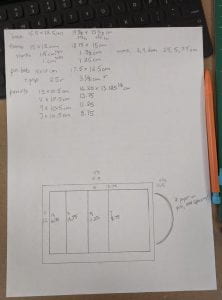
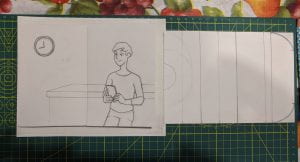
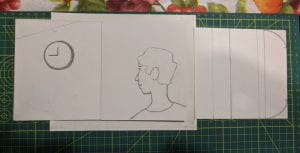
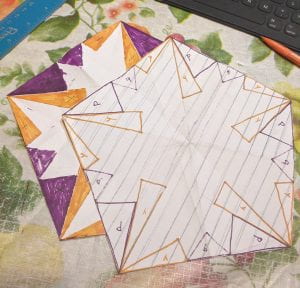
At this point, my goal was to create a custom paper for this origami that held a surprise. Unfolded, it wouldn’t make sense, but sections of a picture would align when finished and reveal an image. I thought that this discovery process would add an extra layer to my gift and be do-able, by reverse engineering the paper shapes, but it didn’t end up working very well. I tried several ways to figure out how the paper folded, making stars and coloring surfaces,


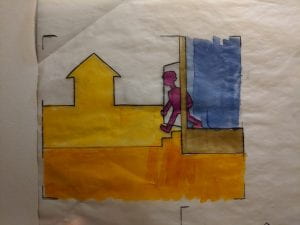
pasting pictures (Meredith had provided a cute photo of her cat, which I really wanted to use and am attaching to a star here!),


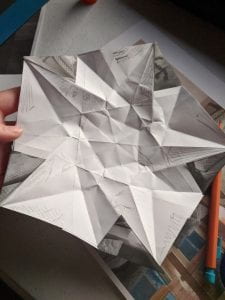
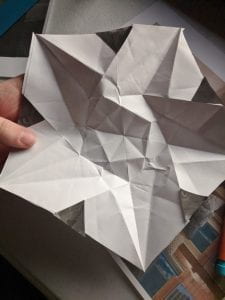
Despite all the tests, it still seemed that I wasn’t close to figuring out how to do this, though. The flatter side of the star, which would be the better canvas, had parts of both paper sides on it. This meant that the picture would have to be printed in parts double-sided, if I wanted it to work. Also a problem would be the slight variations in folds that occurred naturally, no matter how precise you were trying to be. The reveal of a image, all along, would be very interesting to achieve, but seemed nearly impossible to get right. I was now quite tired of the meddling and decided that creating a custom, patterned paper for the origami could be just as fun.
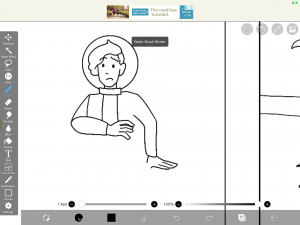
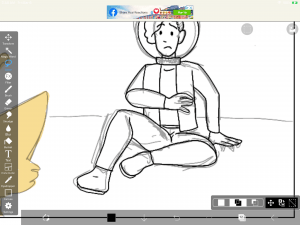
Using the same image of my giftee’s pet, I began to redraw it in my digital art program. Sketch, lining, and color.


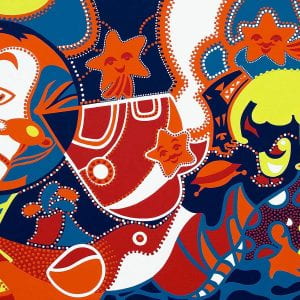
I then moved my transparent drawing into vectornator and tiled it into a pattern.


Placing the tile on an 8.5 x 11 sheet and making it into an 8.5 x 8.5 square, I now had paper that was printable and, with some cutting, ready to be used to fold origami. This solution was also better than the photo pieces, I thought, because it could be used for other origami projects!
Then, I typed up instructions from what I had learned for how to make this star. I tried to be as clear as possible and provide details I wished the video had included. I drew small illustrations of the paper at each step and inserted them into the document as well, for further clarity.


Finally finished, I sent my giftee the instructions file, origami paper file (to be printed), as well as the image of my drawing.