The First Cube
I was determined to get a perfect cube on the first try (I didn’t), but the second time I was more conscious of my pressure on the blade, lining it up with the ruler to avoid cutting into the actual planes, and how much glue to use on the tabs. The second cube took me around two and a half hours but I ended with a product that I was proud of.

The First Orthographic Drawings
The orthographic drawings seemed easier when it was being taught to me but I learned quickly that it was a genuinely difficult practice to get used to. After the first worksheets with it though, I was definitely more confident with orthographic drawing. See this first worksheet here: orthographics
Iterate
I wanted to focus on building and make sure that my shapes gave me the opportunity to learn a solid foundation of building through Bristol paper. I struggled with making ideas that stood out in detail and pattern because I wanted that firm foundation. I now know that I will be extremely confident later when building for other projects. Below are images of my first rough sketches for ideas.


Orthographic Drawings
I felt more confident going into this second round of Orthographics, yet I still struggled to visualize where things belonged. The lines seemed to get confused in my head and I feel like I could visualize them more with breaking apart the drawings and simplifying them. You can view these orthographic drawings here: Scan Oct 8, 2019
Construction
Most shapes were smooth-sailing due to them being rectangular prisms. The first design, however, was the hardest despite its simplicity. I went through around 6 cone templates before I got it to work.

Above is my first attempt. To get a rounded cone, I thought scoring it with vertical lines would help make the curves more fluid. I was wrong and it gave it a bunch of little edges. My final attempt involved soaking the cone template with water which helped it to curve flawlessly.
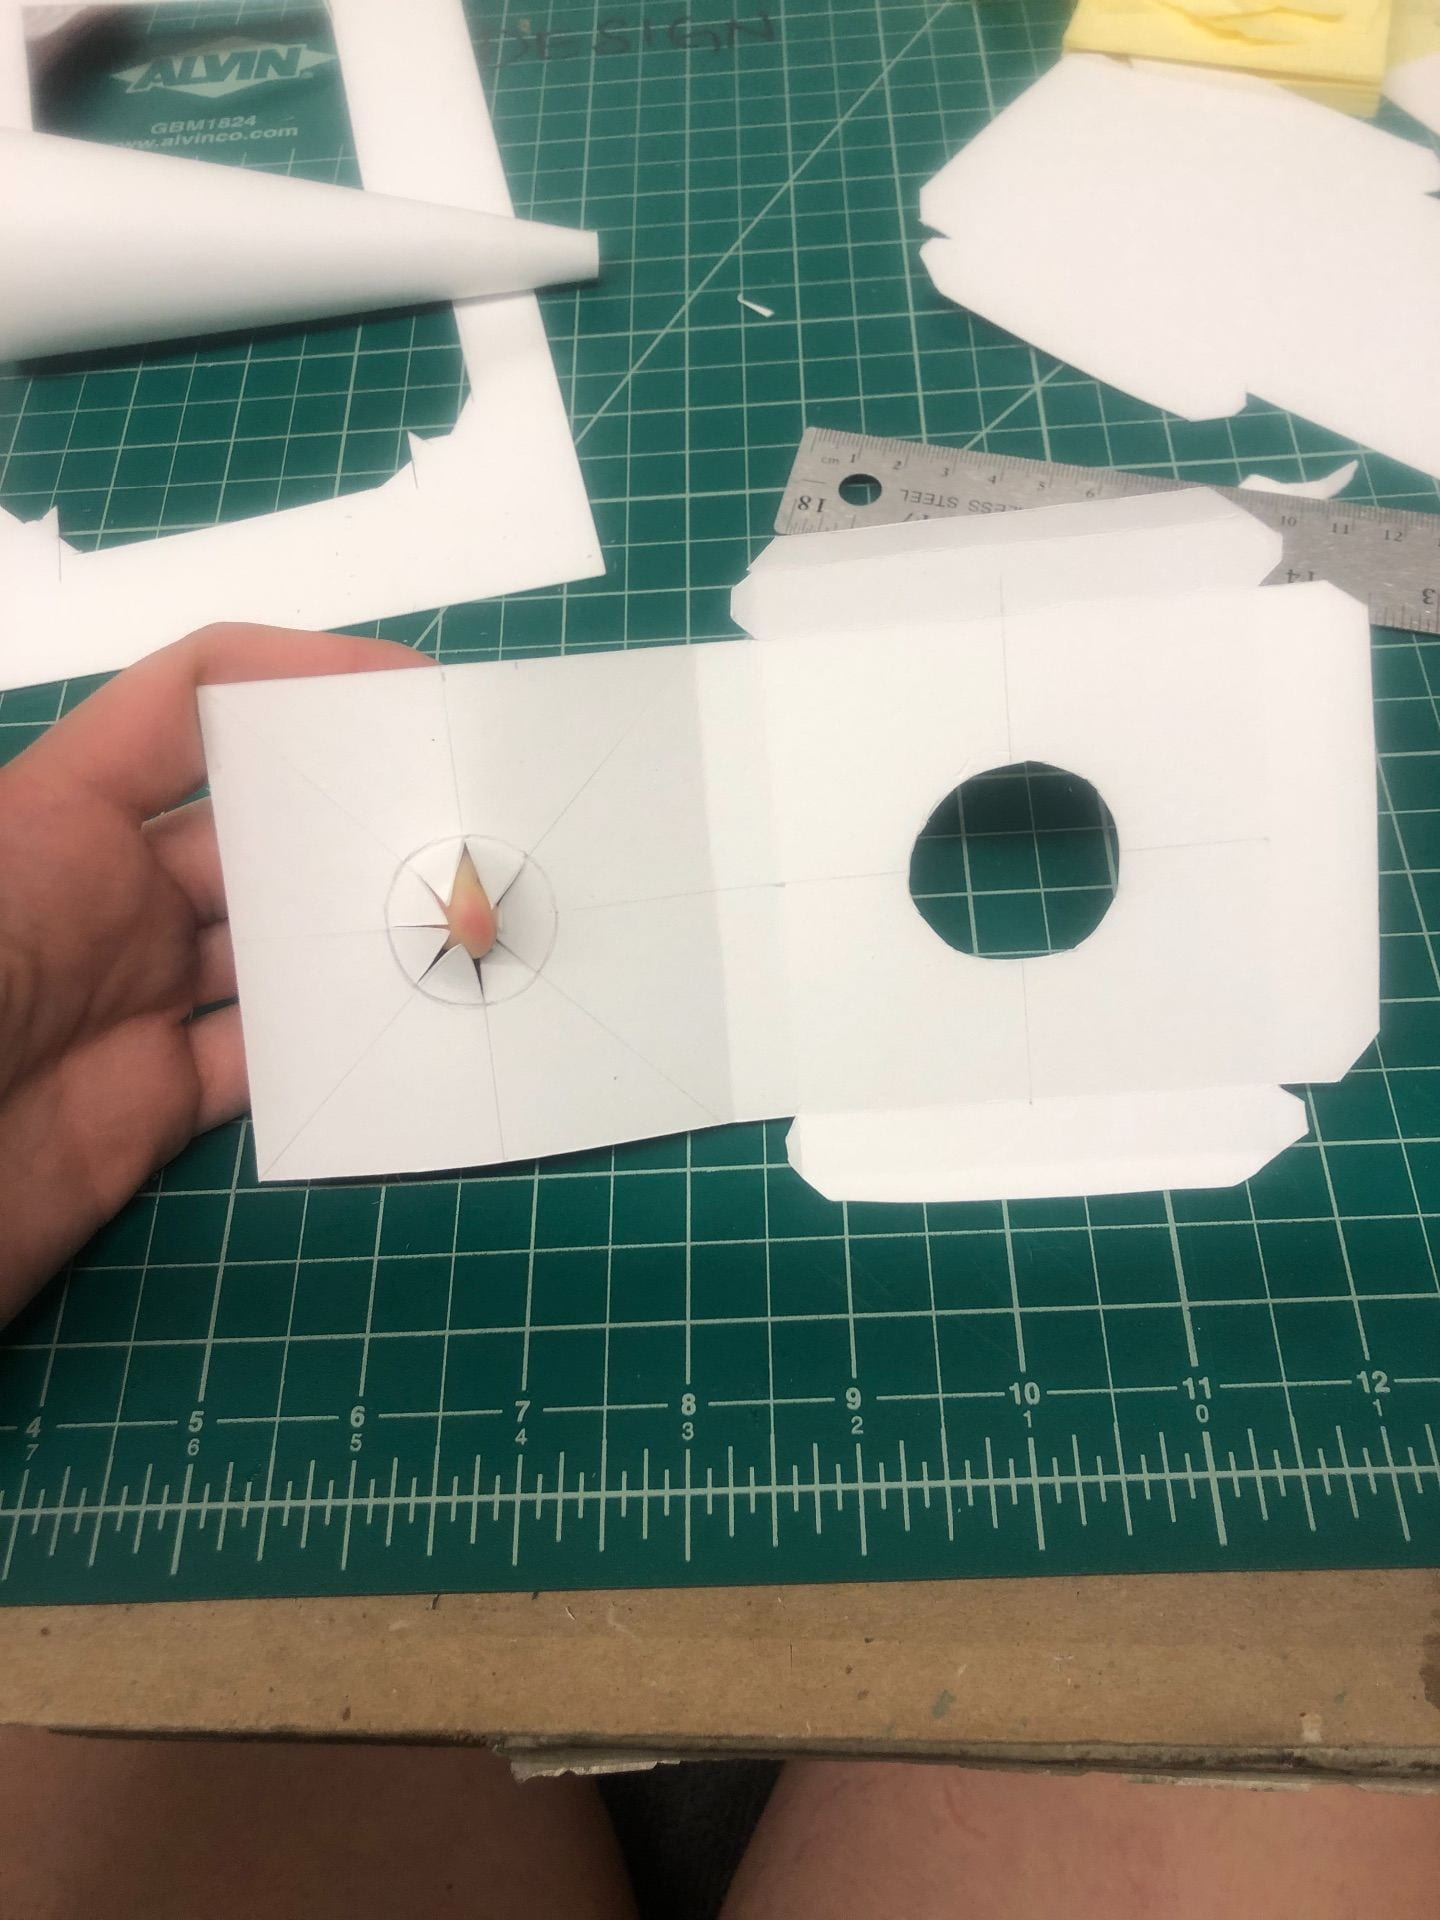
To insert the cone into the rectangular prisms, I calculated the circumference of the cone for each side it would be entered into.
The rest of the templates were straight forward. They took the most time solely because they were simple and I wanted to perfect them.
Final
The final project is overall something that I am very proud of. I feel like this project looks simple to many people who are not in design, so it is easy to get discouraged when those around you are acting like it is easy. It is a hard, exact, and necessary process and skill to have that goes unseen by most people, and that is okay! This project also taught you how to be confident in your own abilities and time commitment. You can see my final project and aerial views of my final below.


