
This image seems very random and like nothing makes sense and that is exactly right. When I was deciding where my dream journal would end up I kept thinking about how random and nonsensical my dreams usually are. So I decided to follow the general progress of what my dreams usually consist of. Some landscape with a large number of random events occurring in it.
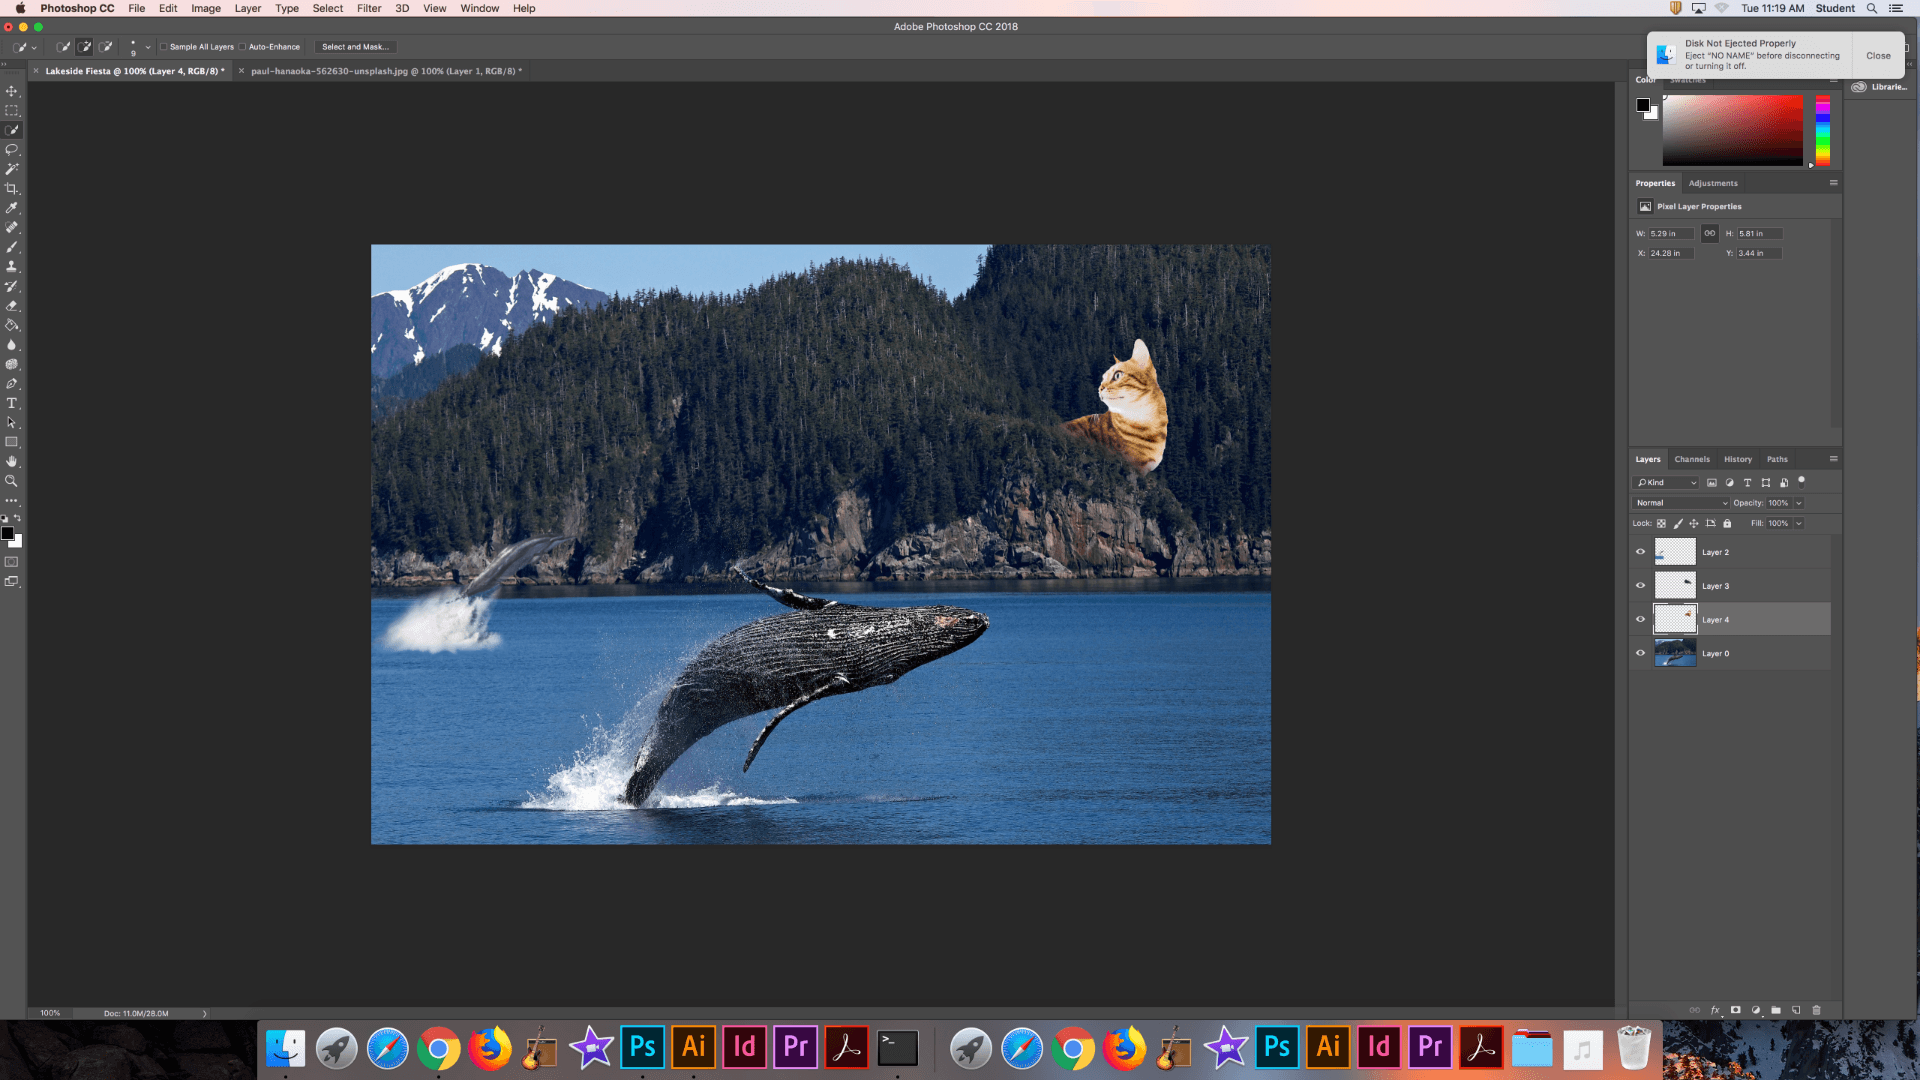
I began with a beautiful picture of a whale cresting the waters of a lake with some mountains behind the water. I then thought it would be cool to add a dolphin also surfacing from the water, which seems realistic, but because of the area the odds of a dolphin being here are not so simple. After adding the dolphin I began thinking about what else I could add and for some reason I came upon cats.
I began first by finding two images of cats that seemed to “fit” together. So I started by adding the cat in the lower right as if it were scared and looking up into the sky at something that was there. The things that it is looking at are a kitten “roaring”, actually yawning, over the hillside across from it and also a rocket league car boosting through the sky off in the distance. Since I play Rocket League I thought it would be a good idea to add one of the cars into the sky of the image as it adds my own personal interest into the piece.
Progress Screenshots

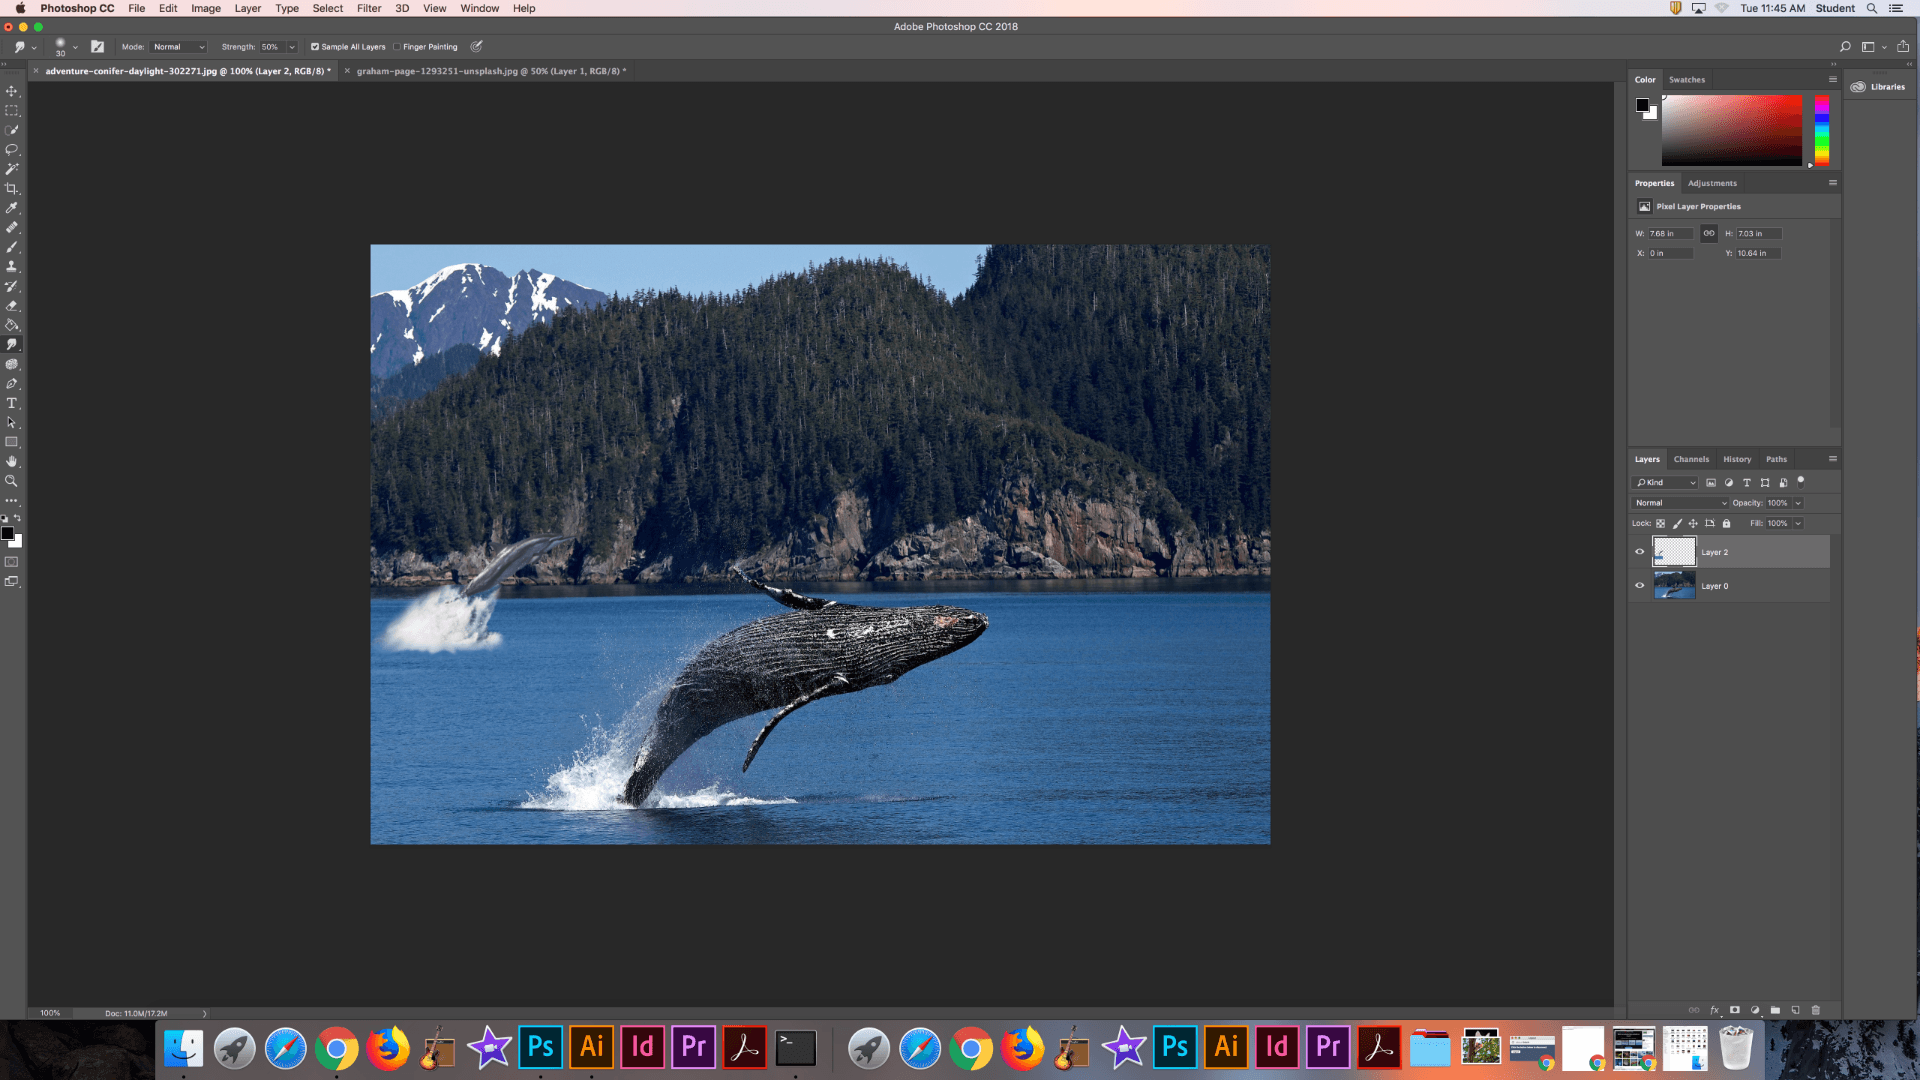
This is the original image that I started with.

The first image I used was that of a dolphin surfacing and jumping out of the water. I began by selecting the dolphin and the water below it that it was displacing when it came out of the water. I used a simple selection tool and feathered the edges to make the image more smooth.

I then pasted the image of the dolphin into the plane of the water. After that I selected an area of the existing water and pasted it into a layer above the dolphin selection. This was so that I could blend the water in the dolphin image into the water of the original image. It also adds a hint of realism because the water isn’t just magically changing color and consistency.
Next I smudged the white parts of the water and blended it into the existing water. As mentioned above, this is to add more realism to the image. I also took a large and soft eraser to smooth the edges of the dolphin so that it isn’t just a hard image pasted over top of the original.

Next I selected an image of a cat staring off into the distance. I used a simple selection to select the body of the cat and copied this selection. I then pasted it into the work in progress image above. I also flipped this copied image so that the cat was looking in the direction that I wanted it to.

After pasting the cat into the image I used the same process that I used for the dolphin. I placed it where I wanted it in the scenery and then I selected the part of the mountain that I wanted to cover the cat. Once selected I copied it and smoothed the edges so that it looked as if this large cat was peering over this part of the mountain at something in the distance. By blending the two layers of the cat and the scenery together it looks as if the cat is behind the mountain and not just on it.
The first of the two images is immediately after unhiding the rest of the scenery and then I used a light eraser and a few other blending options to soften the image of the cat so it looks as if it is sitting in the scenery and not on it.
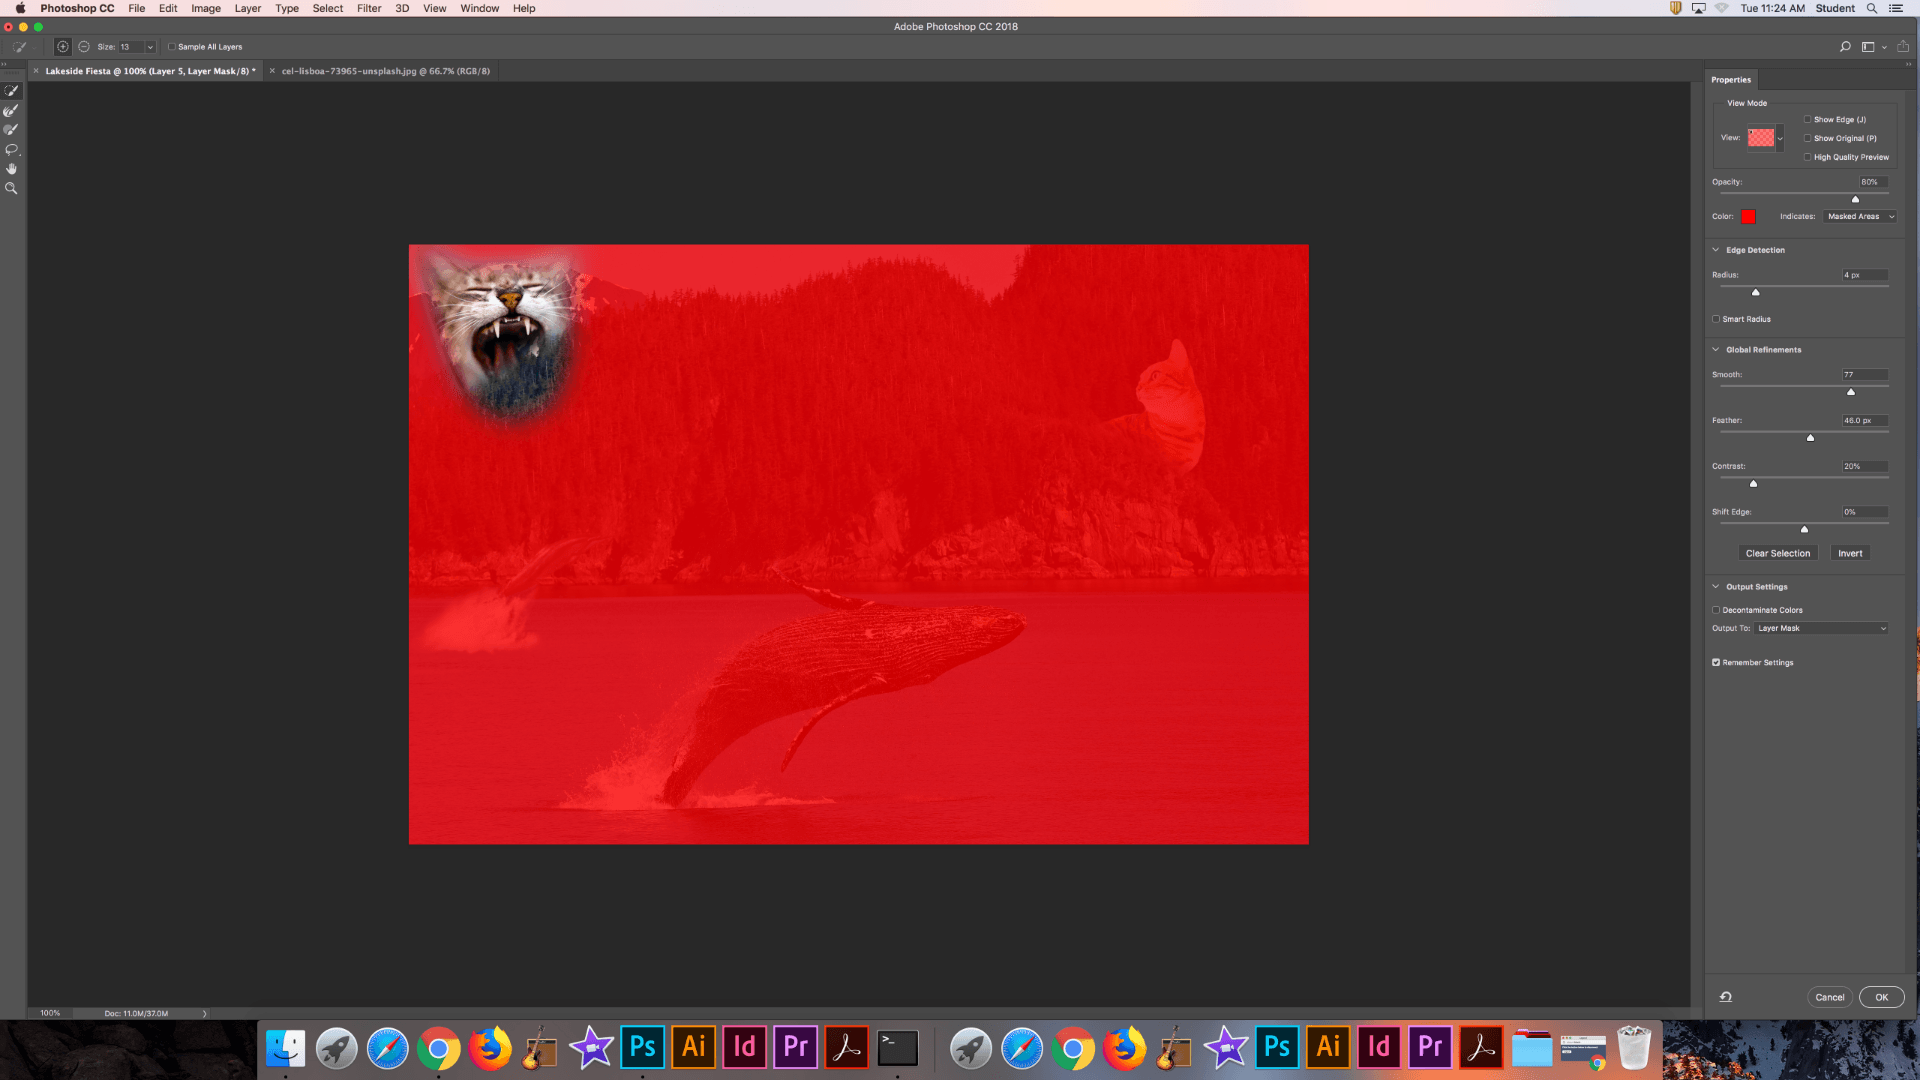
After learning about the mask select tool, I proceeded by pasting an image of this kitten yawning into the mix. I then used the mask select tool to select the part of the kitten that I wanted to use and then put it into the background.

Like I did above I used the same technique of selection the foreground of the image and pasting it over the kitten so that the kitten is in the image and not on it. I used the same soft eraser and blending around the tree line so that the kitten looks as if it is in the image.

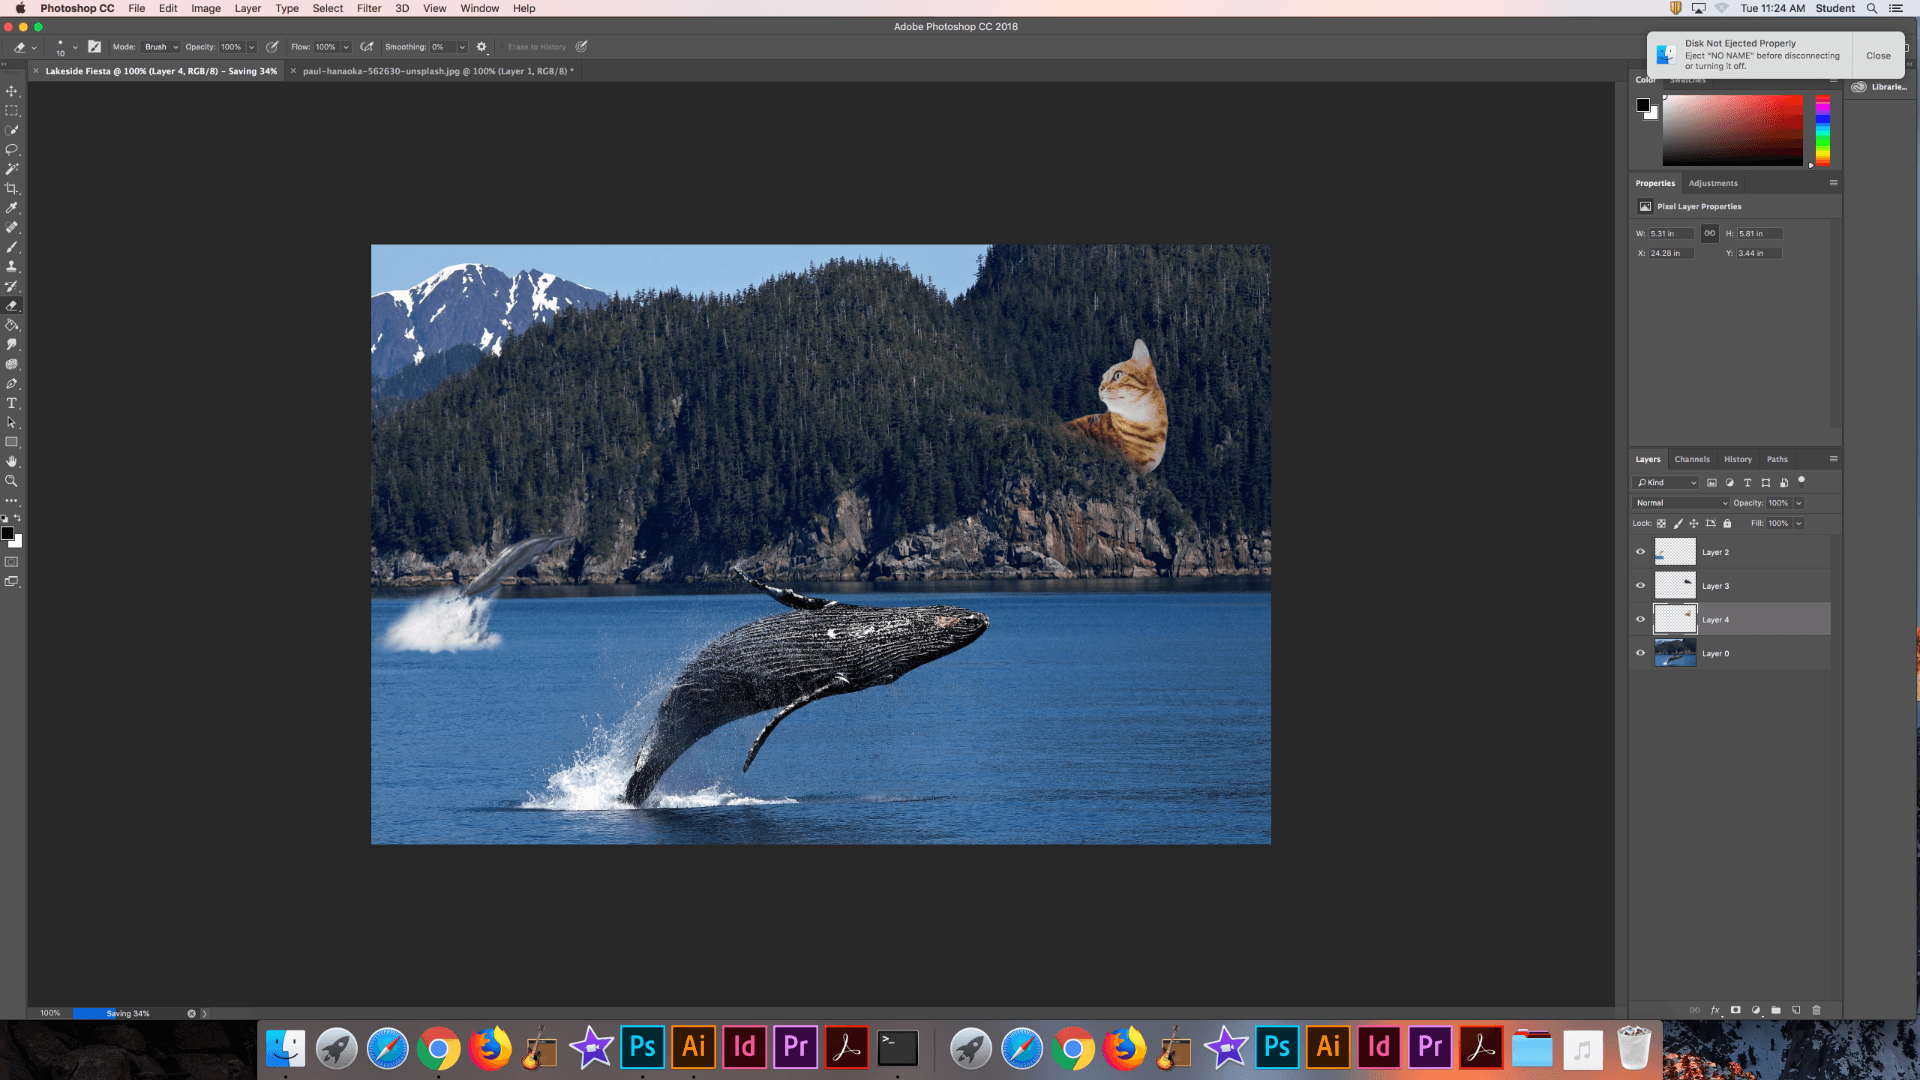
After adding the second cat I used the dodge tool and a gray 50% gray layer to add shadows where necessary, like underneath the dolphin, so that there is depth in the image.

Lastly I decided to add the Dominus from Rocket League into the image as sort of a shooting star in the background. I began by using the mask select to choose which part of the car and trail I wanted. After that I scaled down the car and put it where I wanted it.
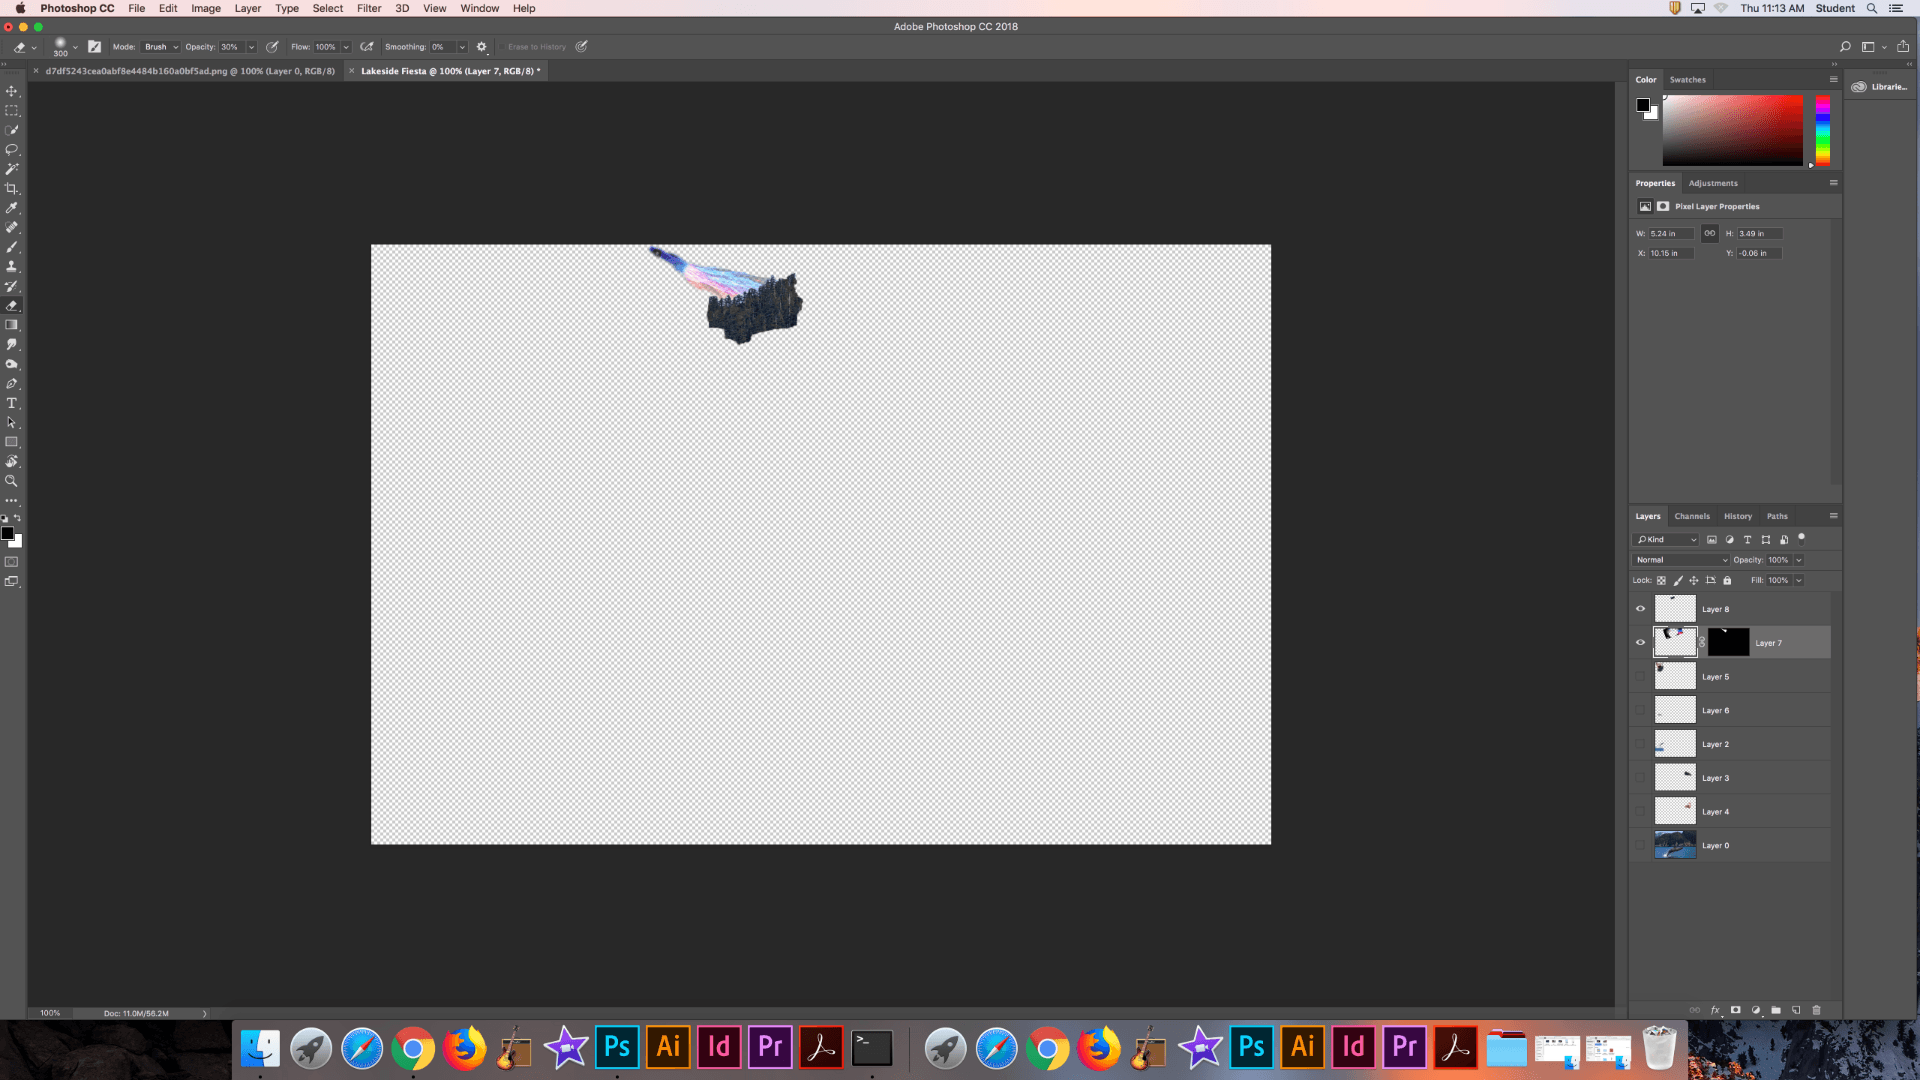
Similar to every other image I added, I used the foreground to hide the image so that it looks like it is coming from behind the mountain and is off in the distance of the sky. I flipped the original image and blended it into the sky using a soft eraser and a blend mode on the trail.
This is the final image as seen at the beginning of the post.