For more than 2 years, I had been staring at a so-so fireplace. Nothing was wrong with the setup in my house–it just kinda looked like someone threw floor tiles on the wall. The mantel was nice, solid wood in a very simple design. I liked that simplicity, until the mantel decided to leap off the wall, taking my TV down with it. I reattached the mantel with some heavy-duty support brackets, but I knew its days were numbered.
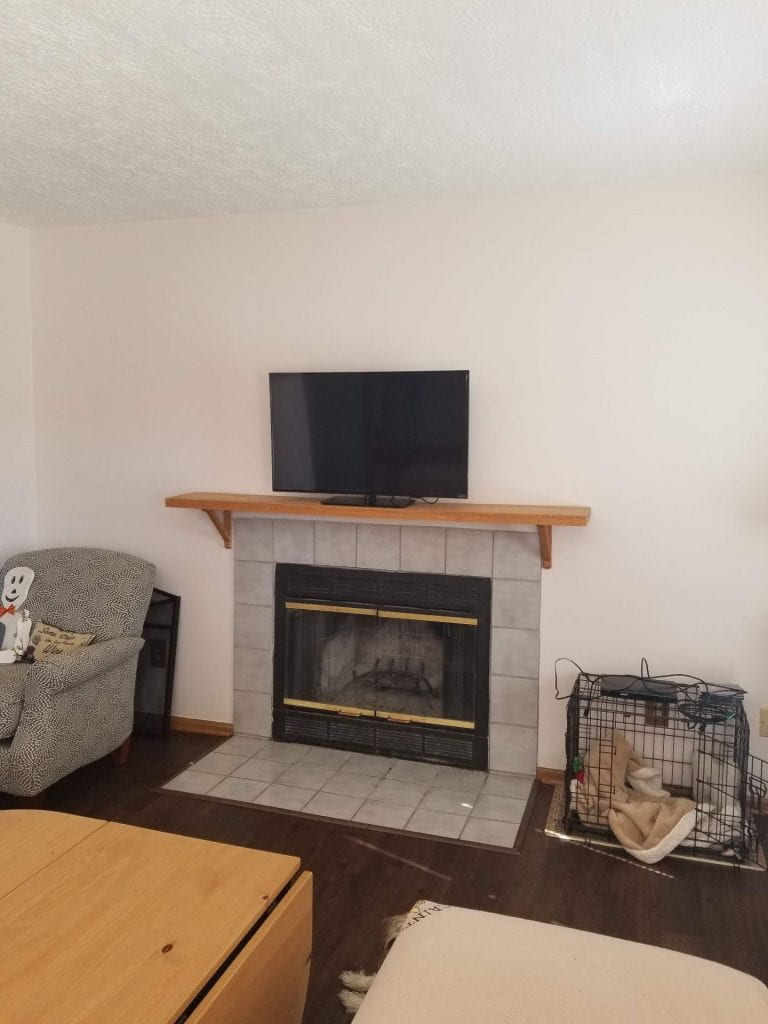
Original fireplace setup. It’s alright.
I wanted my fireplace to make a statement—a statement in stone, from floor to ceiling. Sure, I could have hired professionals to do this, but why let them have all the fun of busting out tile and getting covered in mortar? Enter the #NewsomeTwosome, some amazing friends of mine who had recently completed a floor-to-ceiling stone fireplace in their home with vaulted ceilings!

The #NewsomeTwosome fireplace!
Helping with my average-height fireplace wall should be a breeze. (More like a strong gust, but definitely not like a tornado. I count this home improvement project as a success! Things almost all went according to plan!)
So what all did we do?
- Removed old mantel
- Mounted TV
- Removed old tile
- Removed some of the baseboard
- Built frame out of 2x4s
- Attached cement backer board to frame
- Cut stone to very precise specs*
- Attached stone with mortar
- Attached cleat for mantel
- Placed mantel
- Drank bourbon/whiskey/wine/etc.
*at one point during this project, the following conversation occurred: “Should we measure?” “Why start now?”
The process, in pictures:

Mantel removed and TV mounted

Rachel of the #NewsomeTwosome doin’ WERK

Frame job complete
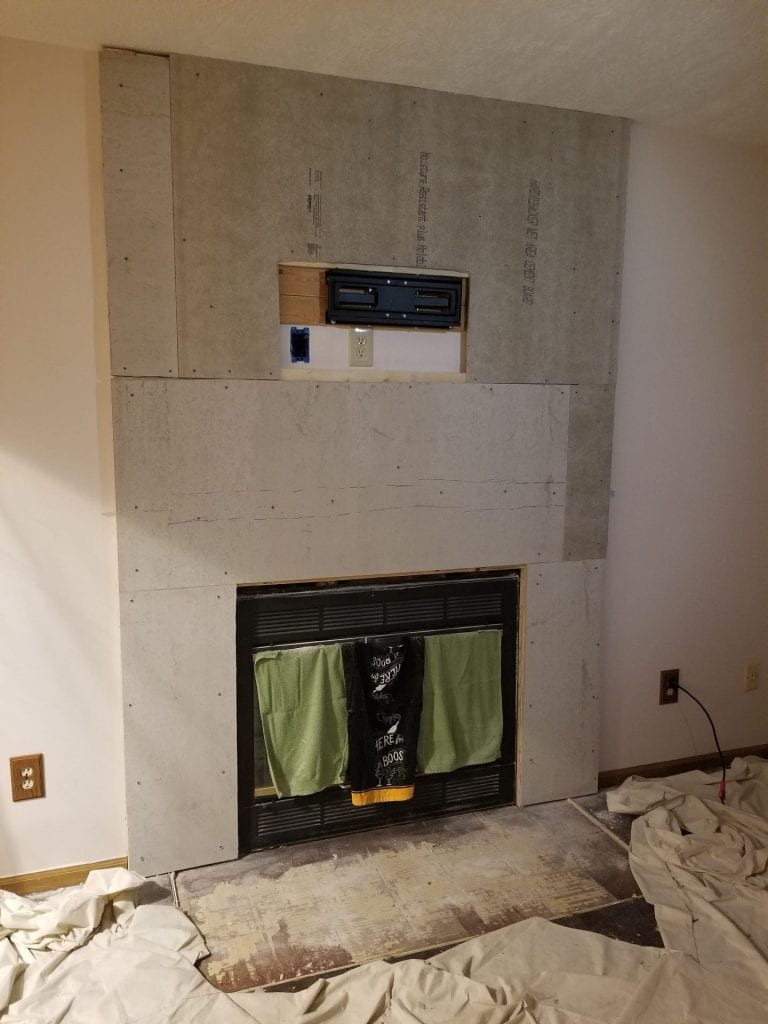
Backer board in place
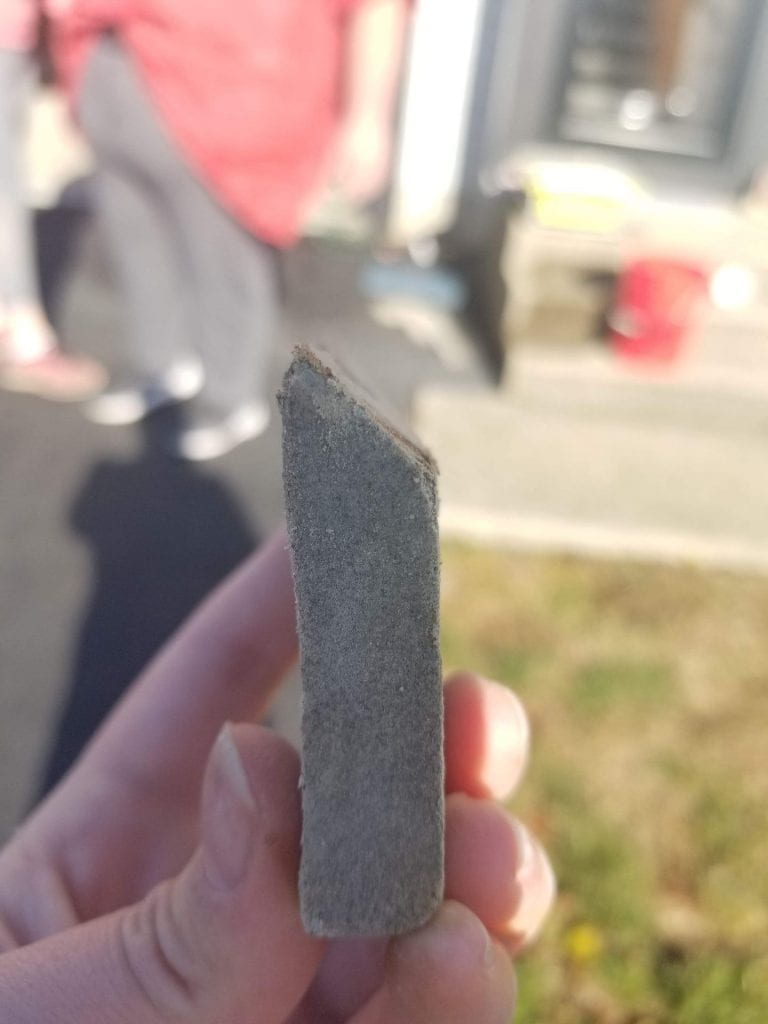
Look at that 45 degree cut, courtesy of Josh of the #NewsomeTwosome
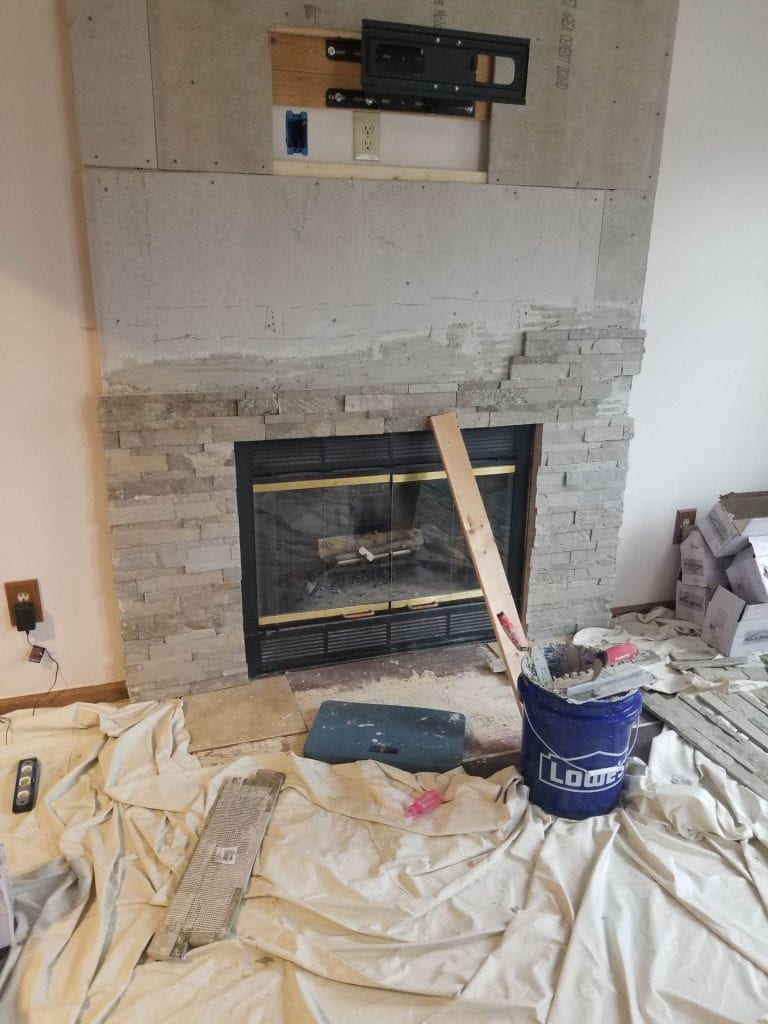
Mortaring in progress…

Voila! The vintage mantel came from a seller on Etsy who specializes in custom length floating shelves and mantels.
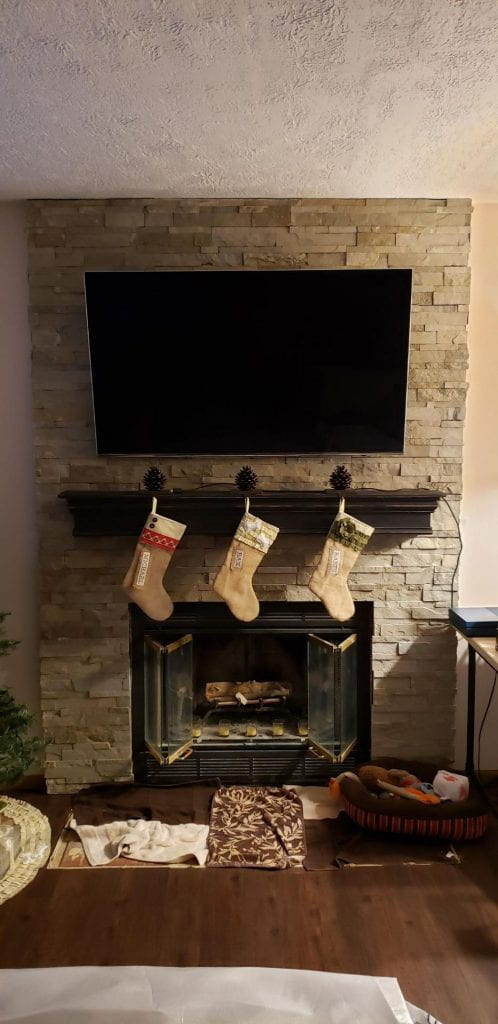
Ready for the holidays!
So now all that’s left (as a Future Randi project) is to clean up the stone, do a little sanding, fill in some gaps here and there and then seal it to keep it beautiful! Oh, and cut up some tiles and lay the hearth. Easy peasy, right? This was a fairly large undertaking for me, and I am eternally grateful for my amazing friends who helped out. We easily saved several hundreds of dollars doing this ourselves, and I love how it turned out! Plus, can we say resale value?! Cha-ching!
The bourbon tasted so good after finishing all this. As an added bonus, bourbon helps clear my sinuses, which were clogged with tile and mortar dust!
One thought on “Fireplace DIY (with help)”