Creating a Self-Grading Quiz on H5P

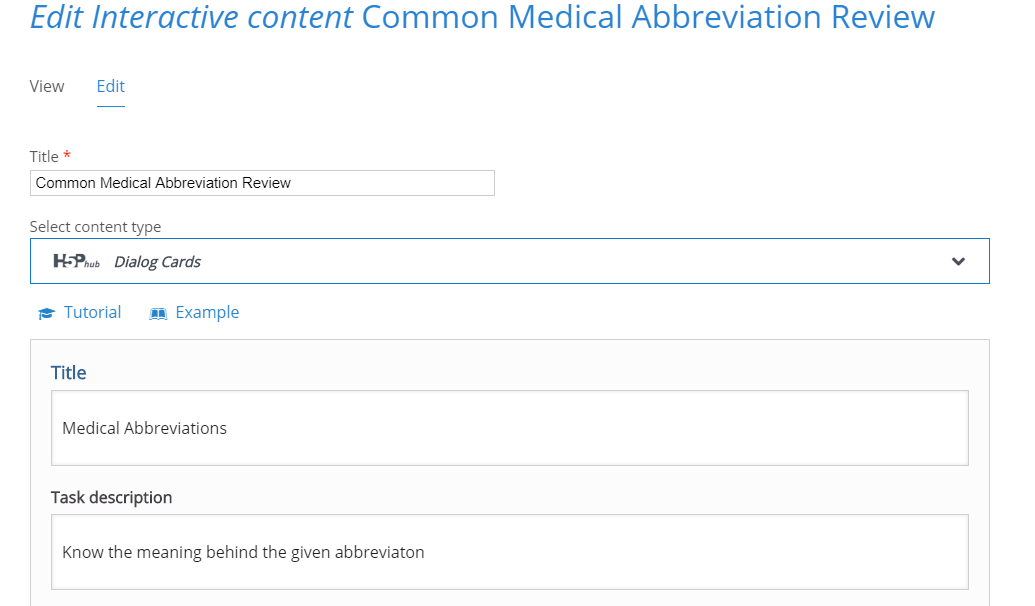
In a previous entry, you learned how to create a set of flashcards on H5P. Flashcards are an excellent study tool, but some students may simply memorize the cards themselves rather than actually learning the underlying concepts. For that reason, an excellent tool to reinforce the material on the flashcards is the self-grading quiz. Below is an example quiz based on this flashcard set:

To create an interactive quiz of your own, go to the H5P content creation screen and select “single choice set” from the drop down menu.

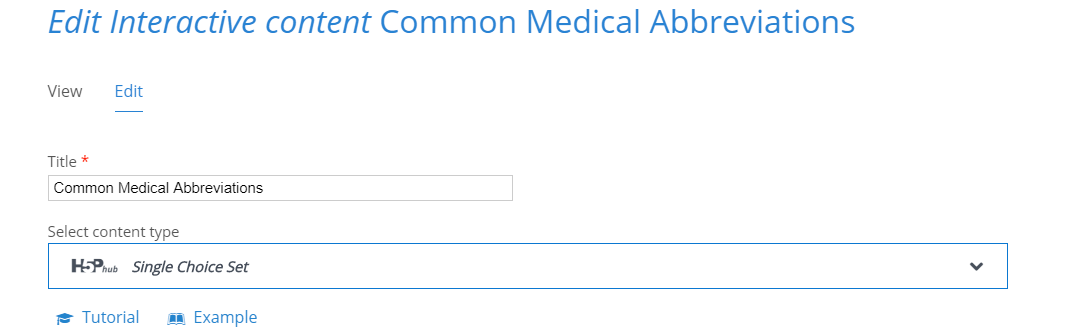
The first dialogue box will set the title for the entire quiz.

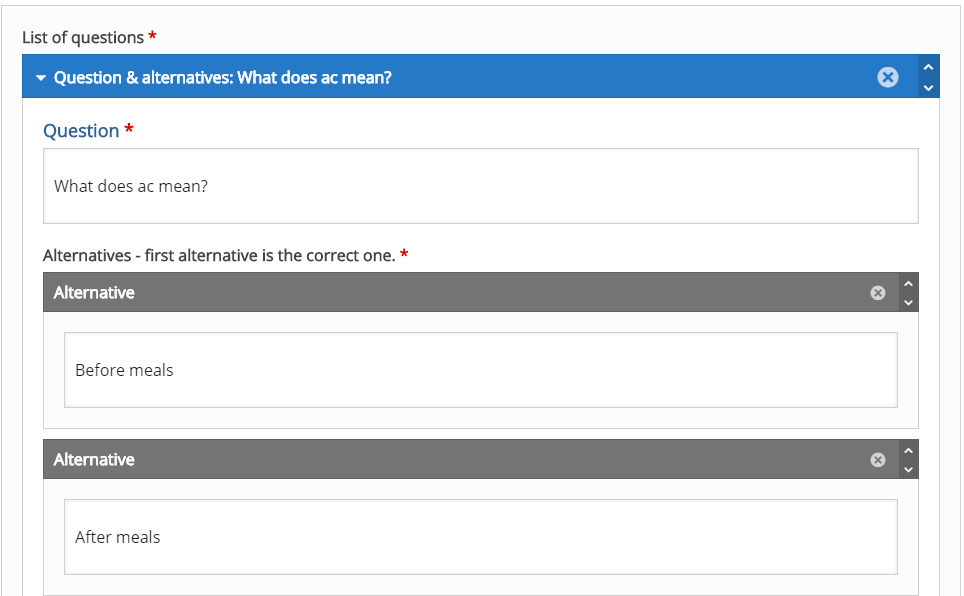
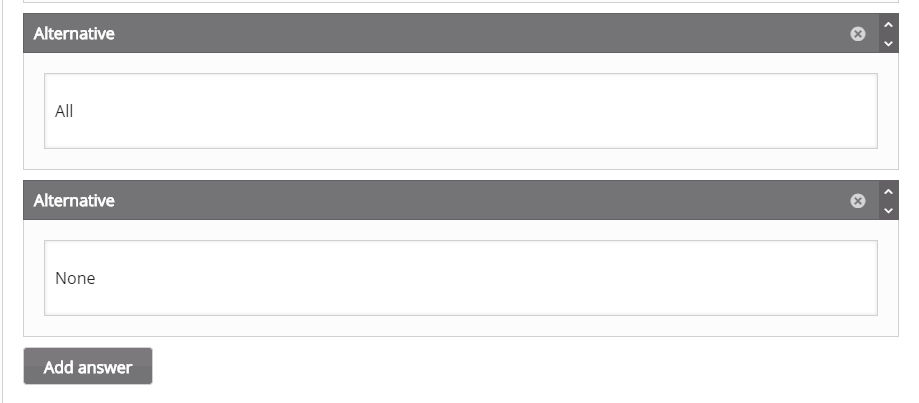
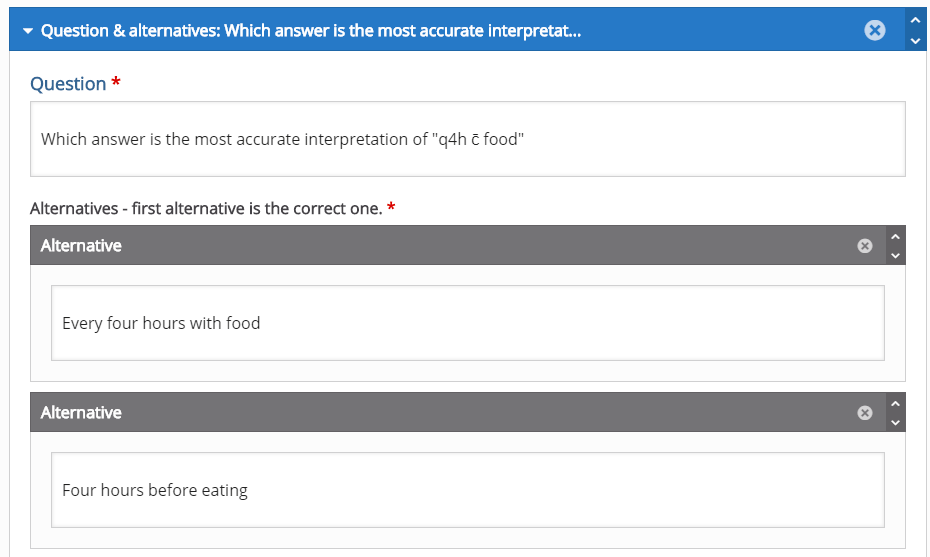
In these dialogue boxes, you will fill out the question and up to four possible answers. The form will default to two possible answers. You must click the grey “add answer” button to create new blank answer dialogue boxes. It is important to note that the first dialogue box is for the answer that you want the quiz to grade as correct. It is also important to note that the quiz will randomize the order of all four possible answers. This will be important later.

Question 5 is an important example because I chose to include an “all of the above” style answer. However, it is important to note that even though this answer is the last one on the form, it will not necessarily appear as the last question within that answer set (eg: it could appear answer 1, 2, 3, all of the above OR 1, all of the above, 3, 4 etc.). For this reason, you should choose a wording similar to “all answers are acceptable” and avoid answers that make reference to other answers in terms of their location within the answer set.

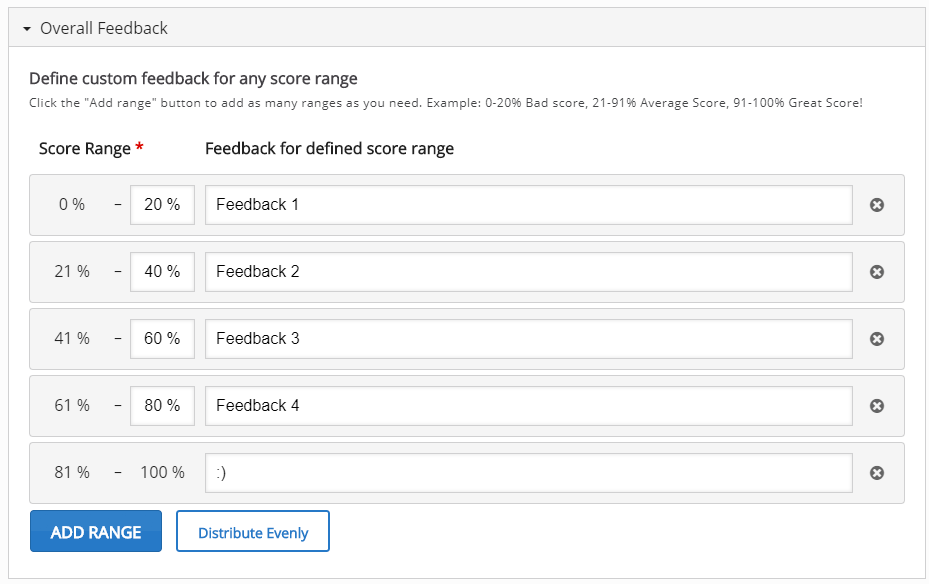
This image shows the grade ranges you can choose. This section starts relatively blank. To create the grade ranges for this quiz, I clicked the blue “add range button” until there was one grade range per question, then clicked the white “distribute evenly button.” However, If you choose to, you can manually adjust the grade ranges. The text boxes next to each grade range are the messages that will appear if a student receives a given score.

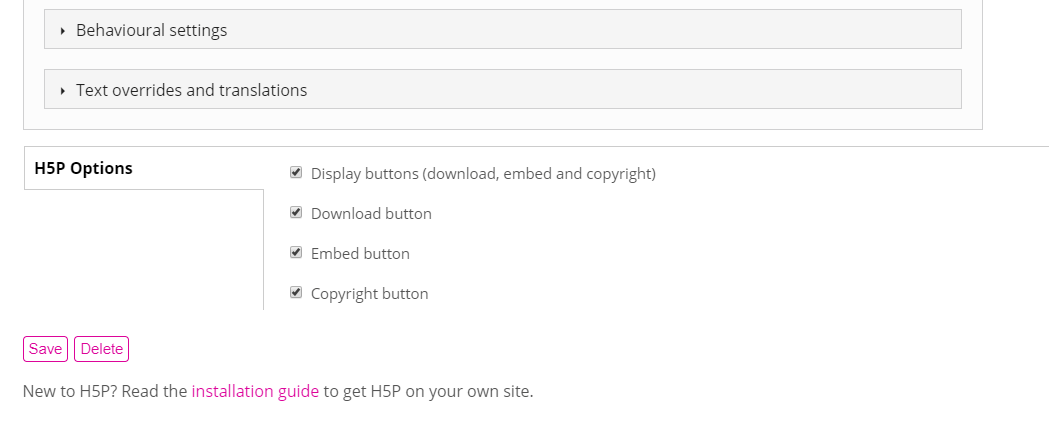
In these final steps you can further customize the behavior of the quiz and the messages and prompts that appear on the quiz. For this tutorial, these settings have been left as default, however I encourage you to play with these settings and contact CON IT for any additional assistance you may need. As with other content on H5P, you can edit the download, embed, and copyright buttons that will appear. Once you are happy with your quiz, click the pink save button. If you followed these directions, you should end up with a quiz identical to the one at the beginning of this blog post. Once you have completed your quiz, it can be embedded into Carmen or into your u.osu blog for use as a study tool. For help configuring your quiz, or assistance in implementing an H5P quiz in your classes or study groups, please contact CON IT for additional assistance.

Creating Flashcards on H5P

The previous blog entry showed how to make a basic accordion style review tool on H5P. This entry will teach you how to use H5P to create online flashcards. The online flashcard tool is a great way to present a large amount of study material, as long as the material requires only a brief explanation or rationale. The process is a bit more complex than the accordion style list, but the outcome is much more customizable. Below is an example flashcard set to study commonly used medical abbreviations. Most of these cards are simply text on both sides. Cards 3 and 4 give examples of how to use audio and image clues on a flashcard set.

To create a flashcard set, start at the H5P content screen (you will need to create a free account) and select “dialog cards” from the drop down menu.

These first dialogue boxes will set the title for your project, the title that appears at the top of the card pile, and the general instructions for the card pile.

The first dialogue box for your card will determine what shows on the front of the card. The second dialogue box shows what will appear on the back of your card. Initially, you will only have one blank card. To add more cards, you must click the blue “add dialog” button on the left menu.

Card 3 is unique in that I added an audio clue to the card. To do this, scroll down until you see the section for “audio files” then click on the grey rectangle to upload your audio file. You can upload audio files with a URL or from uploading a saved MP3 from your computer. It’s also possible to record your own audio files to upload. It’s important to be aware of any copyrights your file may have, and to cite them properly. Citations will appear in the “Rights of Use” button on your flashcard set.

Card 4 is unique because it has a visual clue that appears on the card (images will appear on the front and back of the card). Images are uploaded just like audio files, except you will upload images under the “image” section. Just like audio files, be aware of the copyrights your image may have and cite them properly.

At the bottom of the page you will have the option to further edit actions and behaviors of the card deck. For this tutorial I left those options as default, but I encourage you to play with them and contact CON IT for any additional assistance you may need. You will also have the option of editing what buttons will appear on the final flash card deck. Once you are satisfied with your flashcard deck, click the pink “save” button. If you followed the directions posted here, you should end up with a deck identical to the one at the top of this blog post. For help configuring your deck, or assistance in implementing flashcards in your classes or study groups, please contact CON IT for additional assistance.


An Introduction to Using H5P

In this post, I will show you how to create an accordion list, one of the many tools on H5P. Below is an example I created of an accordion to review physiology. In this example, the student is presented with a question  to consider, and then the student can double check their answer by clicking on the accordion to reveal more information. One of the benefits of an accordion list is that it can organize and present broad answers with a lot of information. Accordion lists can be embedded into Carmen to condense large chunks of information and can be given to students as an assignment to complete or as a study guide. Accordion lists are especially useful in organizing long blocks of text into digestible pieces of information, as in complicated assignment instructions or longer discussion postings. Please try out the interactive accordion below:

The creation of an accordion list is quite simple. Follow this link  to get to H5P’s content creation page (you will also need to create a free account). Once there, click on the bar in the center of the page labeled “select content type,” and “accordion” will be the first choice. After selecting “accordion” and clicking the blue “use” button, you will be presented with a blank template. In the image below I have given the list the title “Physiology Review.” The current template has one blank form. To create a second blank form, you will need to hit the blue “add panel” button (circled in red).

The following images shows how I filled out the forms to create the interactive example at the top of the page (click on the image for a larger view):

Following these steps will create an accordion list identical to the one you see at the top of this blog post. All that’s left is to finalize the list at the bottom of the page:


If you want to add more content, you can continue to add more panels by clicking the blue “add panel” button. If you want to edit the display buttons on your accordion list, you can do so with the check boxes. If you are finished and want to see the completed list, click the pink “save” button.

Saving will take you to a finalized version of your accordion list. If you want to make edits to your list, you can do so by clicking the “edit” button. If you want to download a copy of your list or get the embed code, you can do so by clicking the respective buttons. If you don’t want the option to have download or embed buttons, you can remove them by deselecting the check boxes on the previous screen. For assistance using the H5P accordion list in your classroom, please contact the CON IT Department for support.

Citing media from digital resources

This post will provide a walk-through for citing digital media using the American Psychological Association (APA) format. This is the most common citation style for scientific papers. Proper citation is important in that it gives credit to the original authors and owners of referenced works, and it gives readers of your paper a way to research and verify the sources that you used.

  • Citing a Video Link:

Example:

Citation:

In-Text Citations:

The video should be referenced in the text, like this:

“The OSU marching band put on an amazing halftime show (the Lantern, 2012).”

or

“The Lantern (2012) highlights the skill of the OSU marching band.”

  • Citing an Image/Graph/Chart:

The image should have a caption that includes:

  1. The word Figure (with a capital letter and in italics)
  2. A number (starting with 1, increasing in numerical order with each new figure)
  3. A title for the figure or brief description of the work
  4. The owner and publication date in parenthesis

Example:

Figure 1. Ohio State Buckeyes Logo (Buckeyes1186, 2013)

undefined

Citation:

In text citation:

The figure should be referenced in the text, like this:

“As Figure 1 shows, OSU has the best school logo.”

  • Citing a Table

The table should have the following information:

Above the table:

Include the word Table with its number next to it (starting at 1) and a title which describes the contents of the table. Title should be in italics and capitalized in sentence case.

Below the table:

A table should be able to be understood on its own, even outside of the context of the rest of the paper. A note under the table can be used to provide extra information and context.

Example:

Citation:

In-text citation:

The table should be referenced in the text, like this:

“As shown in Table 1, I assume you will have a perfect understanding of APA formatting after reading this post.”

  • Additional Tips:

Some web resources may choose to include their reference list without the usual APA-style hanging indent because hanging indents will not display correctly on certain blogs and web platforms (See an example).  The reference entries you see above are image files intended to demonstrate how hanging indent should display in APA style.

It is important to be aware of the ownership rights of media you choose to replicate. Some sources of free use images are: