To view the portfolio post click here.
Intent:
Concept statement: My gift is the invisible connection that siblings have (specifically twins) visualized through a pattern of knots. The knots are made of macrame rope, and the colors represent the twins. These knot forms create keychains that the twins can hook onto their belongings so that they always have a piece of each other. The end of the keychain is held together with hot glue. The keychains have carabiner hooks that hook onto the lid of the container. When opened, the keychains hang from the lid, showing how they can be used. In the bottom half of the box, the quote “The best gift our parents gave us was each other”- unknown is seen on a piece of paper. This quote is the origin/starting point of the gift.
We did an exercise in class to help us encapsulate our ideas into a small number of words, which helped me create my concept statement:
Ideation:
We read “The Shape of Design Chapter 10 Gifts and Giving” by Frank Chimero and “The Gift” by Lewis Hyde. These are parts of the readings that resented with me:
While getting to know my mentor, Delaney, she was going through a lot in her personal and academic life, so it made it hard for her to meet in person often. We had a lot of conversations over text and she was very flexible when it came to my questions.
After our first time meeting in person, I sent her some questions to answer to help me start coming up with ideas for her gift:

Here are some of the conversations Delaney and I had over text:

I did some ideation based on the things Delaney told me about herself and about her and her brother. I also wrote down some things about myself and my brother to make connections:
Deb helped me do some more ideating with this chart:
Exercise 1 “Best Gifts”:
We shared in class what the best gift(s) we ever received were and what made them so good. I noticed that all of the best gifts that I had received had a personal touch to them and were thought out and planned.
In class, we searched for quotes to start brainstorming off of. I have a lot of favorite quotes from MLK, so I included those in my search:
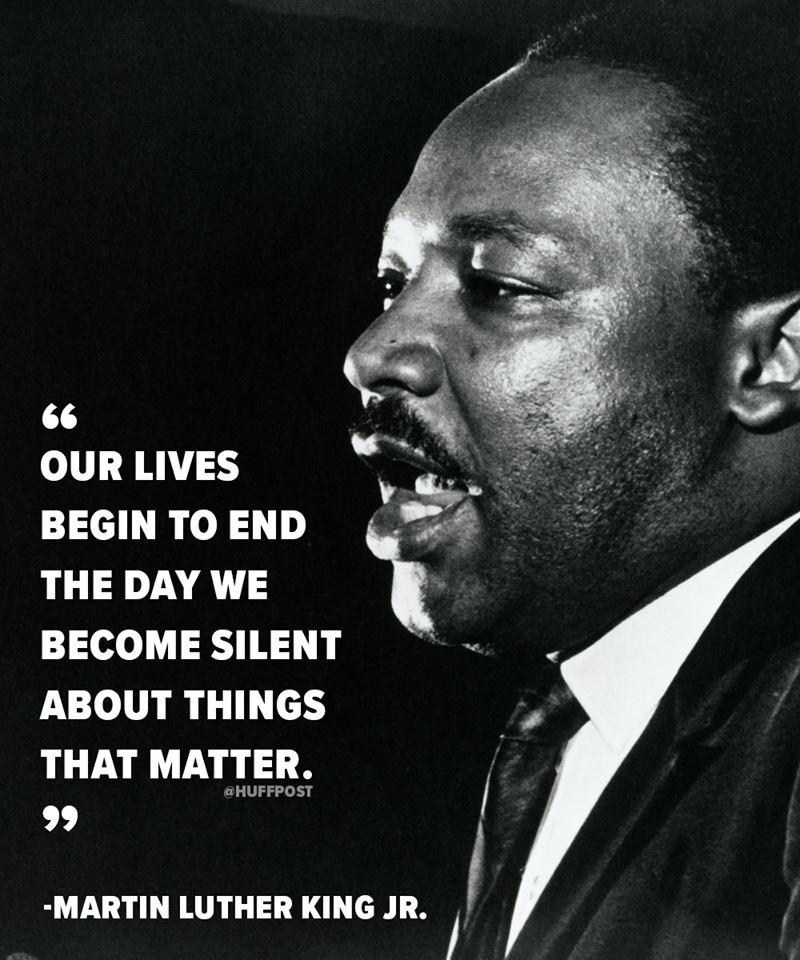
https://www.snopes.com/fact-check/mlk-our-lives-begin-to-end/
I used this quote in a painting I made in high school during the Summer of 2020. It was after George Floyd was murdered and there were a lot of Black Lives Matter protests. Being a part of the Black community, my outlet to express myself during this hard time was art/design:
(I did not create any of the slogans used in this piece they were gathered through my viewing of the news and social media during this time. I saw them at protests as well. The circle with a fist symbol is also not mine and I do not take credit for it.)
xileodesigns: https://stock.adobe.com/images/black-lives-matter-black-and-white-illustration-depicting-blm-fist-in-circle-eps-vector/357729227
Another MLK quote:

21 Empowering Quotes on Faith To Help You Keep Moving Forward
Then I found a quote about design:

https://www.realthread.com/blog/51-design-and-creativity-quotes-guaranteed-to-inspire
I then focused on finding quotes surrounding my topic of sibling relationships and gifting and found this quote that I thought was a perfect place to start for creating ideas for my gift:

https://pureessencegreetings.co.uk/blogs/pure-essence-greetings/20-amazing-quotes-about-siblings-to-share-on-national-siblings-day
Exercise 2:
We were tasked with finding an object in the building that we had to “gift” to an audience. I found a Sorry! board game in the workroom and decided to use one of the small pieces as my gift. We had to create a container for this gift in just one class period. This exercise included a small competition where we had a couple of categories that we would then pick which student’s container and gift combination best fit each category.
After finding my gift, I looked into its history and use. I have played “Sorry!” many times so I understood the rules of the game and how the piece I chose is used, but I also just wanted to look into the base information and history of the game to better understand my gift:
https://en.wikipedia.org/wiki/Sorry!_(game)
I decided to use drawing paper because I had a lot of it and I was used to working with it. I wanted to experiment with different types of containers, and I found this tutorial that showed you how to make a small bag out of paper:
This ended up becoming just a prototype/experiment because I didn’t think it went well with my gift:
Since the gift was part of a board game, I wanted to make a miniature version of a board game box. I used this tutorial to create my container:
Used A4 paper: 8.3×11.7 inches: https://www.brother.co.uk/support/answers/is-a3-bigger-than-a4
I used these images to make a cover image for the box:

https://freebiesupply.com/logos/sorry-logo/
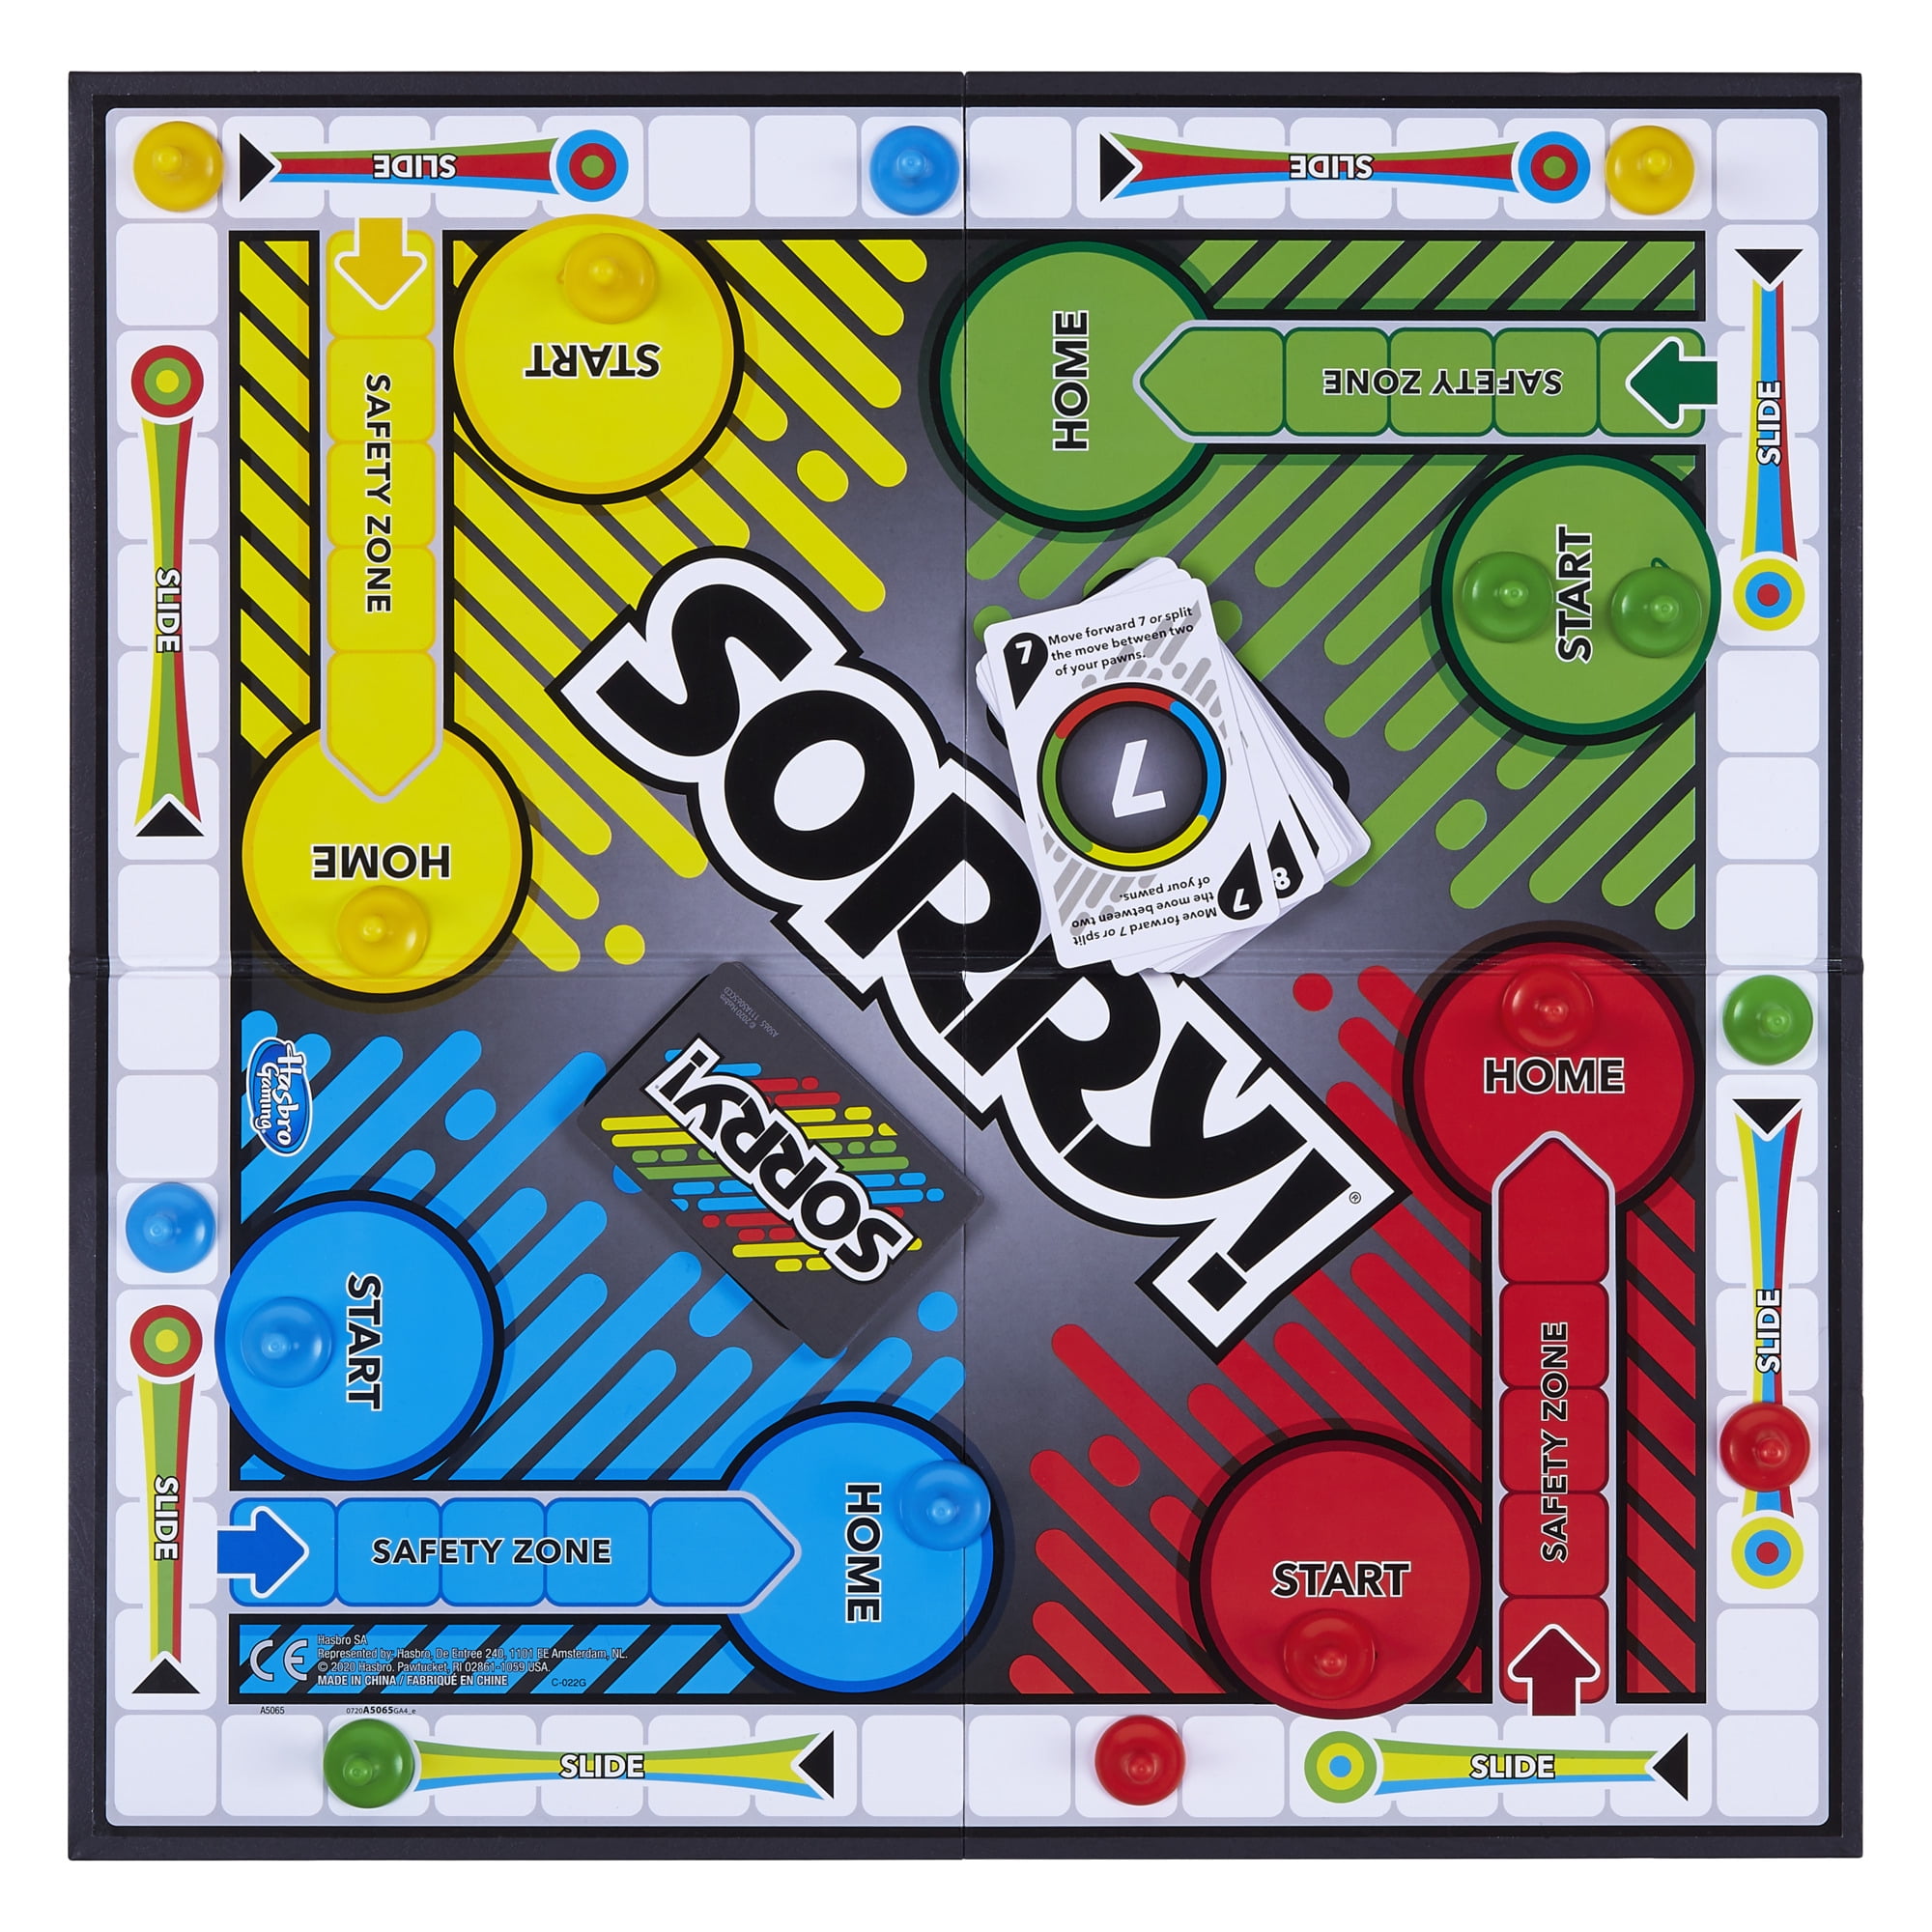
https://www.walmart.com/ip/Sorry-Kids-Board-Game-Family-Board-Games-for-Kids-and-Adults-2-to-4-Players/298923226
I wanted to play into the funny aspect of gift-giving. Siblings often prank each other, and when I was younger my brother and I would play board games including “Sorry!”. The narrative I created behind this gift was that a sibling stole a piece of the board game to be funny and then felt bad so they gifted it back to their sibling, but when they open the box they are met with yet another joke/prank and they have to flip over the lid to find the gift. I played off of the fact that there is an adult version of “Sorry!” called “Sorry! Not Sorry!”.
https://en.wikipedia.org/wiki/Sorry!_(game)
My design won the “funniest” category which showed that my intentions came through in my design! The success of the prototype got me really excited for the making process for my final gift and container design.
After the class exercise I started to do some research on different containers and techniques I could use for my gift:
I remembered seeing boxes that had paper butterflies fly out of them when someone opened the box. I was exploring how the container could be connected or a part of the actual gift:
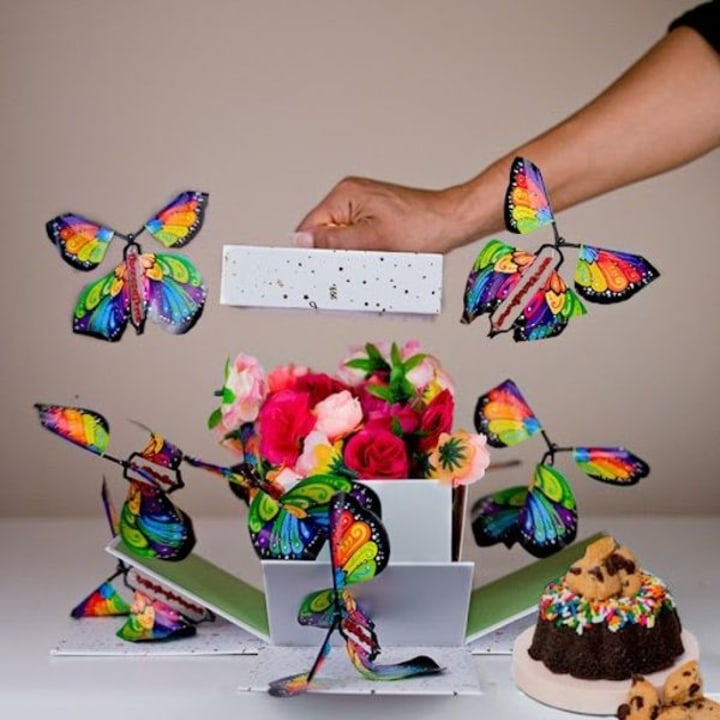
https://www.today.com/shop/31-birthday-delivery-gifts-can-be-sent-their-doorstep-t178422
Delaney mentioned multiple times that she and her twin brother Tasker have a really close relationship and bond. I also have a brother but he is 2 and a half years younger than I am, but we also have a very tight bond. I wanted to gift Delaney something that encompassed the sibling bond/relationship. I started thinking about what visuals/imagery could represent that bond and I landed on knots. Different siblings have different relationships just like how there are different kinds of knots. Knots come together at one point but have ends that go off in different directions. This is similar to how siblings, especially twins, have a connection but are also their own person and travel on different paths.
I did some research about siblings to get more information for my concept:
What is a sibling?:
“one of two or more things related by a common tie or characteristic”
https://www.merriam-webster.com/dictionary/sibling
I played around and sketched out possible symbols and designs I could use to represent Delaney and Tasker. I also brainstormed some possible container designs:
I started researching different types of knots to see what kind of knotted form would best support my ideas:
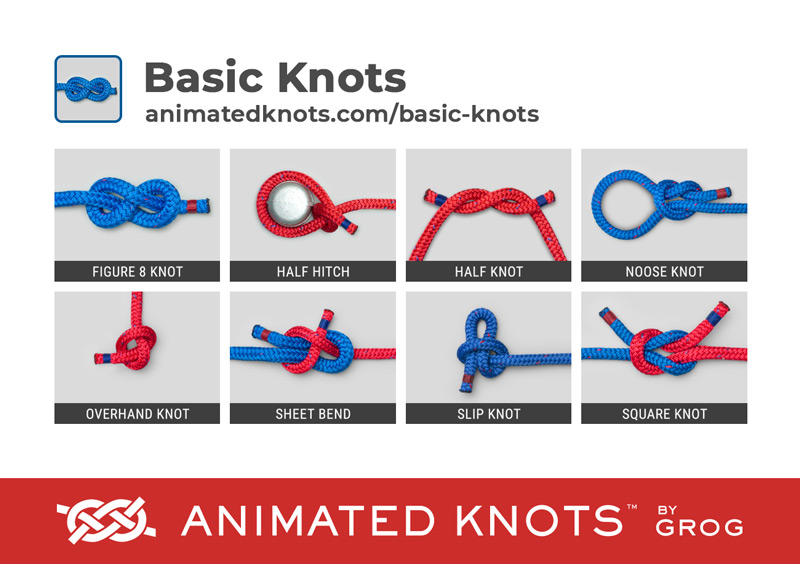
I was thinking about things that are made out of knots and thought of macrame. I visited South Carolina last year and met a man who made decorative macrame forms but also hammocks and hanging chairs. He had been working this job for decades and was just getting ready to retire, but he had so many stories to tell about himself and others. He made everything by hand and made connections with all of his customers. He was so interesting to talk to and he even taught me how to make a small hanging macrame piece that I got to take home:
The weaving and knotting of rope and yarn can have so much meaning, especially when handcrafted. I wanted to incorporate this idea into my gift. I used this concept to do some ideating and to do some prototyping/practice with materials I looked up how to macrame:
:max_bytes(150000):strip_icc():format(webp)/lsq6-5bd8832c46e0fb002dff4263.jpg)
https://www.thesprucecrafts.com/basic-macrame-knots-4176636
I looked into the history of macrame and found this quote that inspired more ideas:
“Materials used in macramé include cords made of cotton twine, linen, hemp, jute, leather or yarn. Jewelry is often made with a combination of knots and using various beads (glass, stone or wood), pendants or shells. Sometimes focal points are used for necklaces such as rings or gemstones, either wire-wrapped to allow for securing or captured in a net-like array of intertwining overhand knots.”
I did sketches of both keychain ideas and a hanging macrame idea:
I met with Deb one on one to do some more brainstorming and to decide on what materials I would use. She gave me a book that had a bunch of knot tutorials that I could use to help me learn how to tie different kinds of knots.
I went home for a weekend a bought materials to start making prototypes. I started by exploring and practicing with the different types of knots from the book:
I also experimented with regular braiding:
I had decided on making keychains, one for Delaney and one for Tasker. Delaney had told me that her favorite colors were blue and purple and Tasker’s was green. I picked out macrame cords in these colors.
When thinking about what to create to contain/hold the keychains I focused on the concept of hooks or things being held together.
I experimented with a tube-like form that could be closed by clipping and unclipping a carabiner, and the keychains would clip on a loop inside the tube:
I also experimented with the keychains being wrapped together with the same macrame cord that they were made of:
I ultimately landed on the idea of a box covered in macrame cords. I decided to repurpose the box I used for our exercise and make it into something new:
Production:
These are the variations I made of this pattern, I decided on using the two images on the right as a base for the keychains:
I decided on this pattern because I thought the weaving of the blue cord through the purple and then the green cords were representations of the twin bond Delaney and Tasker have. They are their own people (individual colors) but are connected in many ways (blue cord in both keychains). I wanted the gift to be something they can take wherever they go so they always have a part of each other with them. They go to different colleges so I know they are apart for most of the year. Also, the idea of keychains being attached to things is similar to how the two siblings are “attached” to each other for life.
Since I had already practiced making this pattern multiple times, I moved right into making the final keychains:
I was having trouble coming up with a way to secure the ends of the keychains so that they didn’t unravel. Deb suggested and demonstrated this method:

https://www.wikihow.com/Make-a-Paintbrush
I tried a variation of this method where I created a knot to create a loop, but it did not hold and started to loosen/unravel:
I experimented with other ways to create a secure end for the keychains. I remembered how hanging macrame designs and started and secured and I also tried an aglet method with tape:
I was planning on using a hot glue gun in the process of making my container, so I experimented with capping off the end of the cord with hot glue. The test was successful so I moved on to using the method on my final keychains:
I cut two holes in the lid of the box to allow for the clips of the keychains to hook onto the lid. I then started gluing the macrame cords onto and inside the box. I took off the “Sorry!” label that was on the top of the lid before cutting the holes in it. I covered up all of the imagery from the exercise:
Fully covered, the box looked like this. I tested out the mechanism I had created in my head with one of the keychains:
Then I put it all together. The lid mechanism showed off the function of the keychains perfectly. When Delaney opens them they will dangle from the lid and are able to be unclipped for use:
I also added the quote to the bottom of the box (this is a shortened version of the original quote so that it would fit on the piece of paper):
Gifting it to Delaney:
Reflection:
Delaney and I not being able to meet in person often made it difficult to ideate and to make a connection with her, but I think the work I did to create questions for her to answer over text really helped me in the ideation process. I wanted the gift to be connected to each of us in some way and I wanted to gift her an idea or concept more than something she needed or wanted because she never mentioned anything of that sort. A good, strong, and healthy sibling relationship doesn’t just happen out of thin air. Not all siblings have a close relationship with each other. My relationship with my brother is very important to me and I really take the quote I chose to heart. The best gift I have ever been given was him. Delaney was a great mentor and was always willing to answer my questions, I enjoyed getting to know her and hope to keep in touch throughout college.
I had a lot of frustrations during this project, more with myself than anything. I got stuck a lot and found it hard to come up with solutions quickly. Also, the amount of freedom we got with making this project was overwhelming. I got to make anything I wanted within the confines of the project restrictions, and I had a hard time creating solid ideas. Also working with a material that would fray and unwind when touched too often made it hard to go back and change things. I would definitely pick a different time of cord/yarn if I were to do this project again.
I learned that a gift doesn’t have to be something someone wants or needs and it doesn’t have to focus solely on the physical object. Gifts can be messages behind an object or an idea/concept.


