“I Need to Write on a Whiteboard/Blackboard During My Zoom Session – How Do I Do That?”
This may be the most frequent question I’ve received from PHY instructors, since we ramped up in SPR semester. A similar situation is screen-sharing a document printout that the instructor will annotate during the session (e.g., an outline of a problem to be worked during a class meeting).
If you have an iPad (or other drawing tablet that can connect to an ink-enabled application), adding it is relatively simple. But what if you don’t have a separate drawing-capable device?
Use a second camera (an independent webcam) as a document camera!
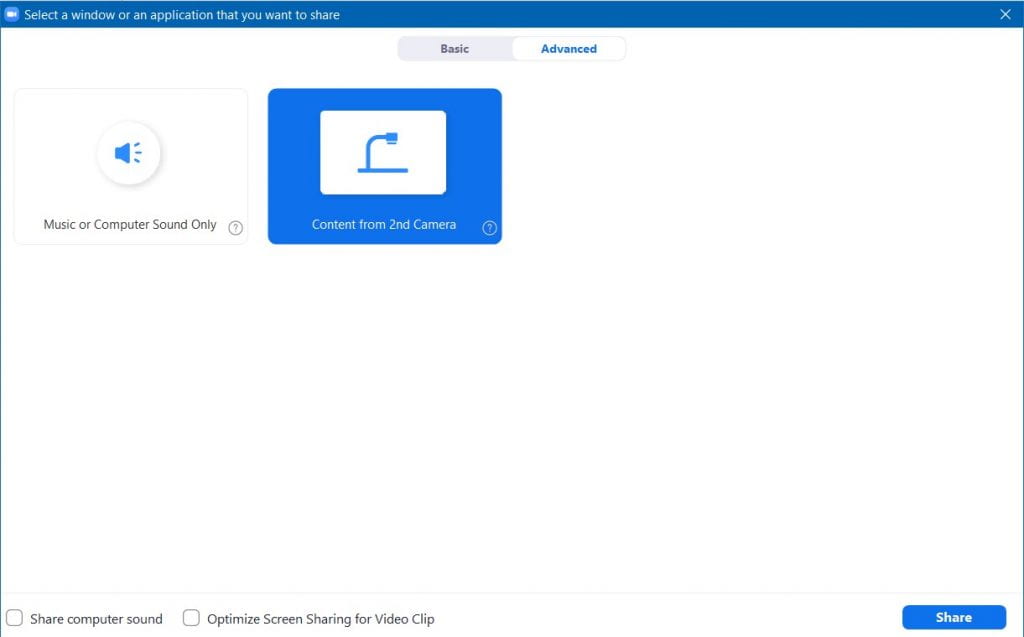
Basically, you’re using two cameras within your Zoom session; the primary camera (on a laptop, the “built-in” camera) stays focused on “you,” the presenter, but you’ll share your additional camera as what Zoom calls a “document camera”, and this becomes your whiteboard/blackboard/drawing area.
Note that your “whiteboard” doesn’t have to be vertically mounted; you can aim the webcam at your desktop, if you like – that’s probably an easier area to write on. Do some testing on your setup before you use it “live”, and mount the second camera to “something” not only so you’re properly focused on your writing area, but to make it easier for you to write.
I’ve posted a tutorial vid on the Physics YouTube subchannel on how I set it up, but here are the general steps:
1. Start your Zoom meeting, and have both cameras connected to your computer (I’m assuming laptop, but desktop+ 2 webcams would work as well).
2. Open up your video settings
3. Make sure the “Mirror my video” checkbox in Video settings is UNCHECKED.
4. Share your screen – from the “Advanced” area, choosing your separate/second webcam.
5. The webcam is displayed to your meeting Participants. (My image is blurry on this screenshot, because my webcam is completely handheld.)


