If you have a bio on an ASC website, you may have the option to login and edit the content on your page.
To make edits, you’ll need your Web Content Owner to add the editing capability.
Logging In
Once you have access, you will be able to log in. Go to the bottom right of any page on the website and click on the white “LOGIN” link.
This should bring you to your user profile by default. Above your name, you should see a new View and Edit links.
Editing Your Profile
Choosing Edit will take you to the editor interface for your page. Here you have access to change quite a bit of information! You can update:
Name
Photo (If NOT using OPIC)
Bio
Professional Information
Contact Information
Photo
One large caveat is we highly recommend using OPIC to manage your photo.
This allows your image to be re-used across all University services and websites that link to OPIC services so that you do not have to keep re-uploading it every time.
A good example might be a faculty member with a profile on both the Neuroscience Major and Neuroscience Graduate Studies Program websites. They would only need to update their photo on OPIC to have the change show across both sites.
Using OPIC
To use OPIC, visit that site, log in with your Ohio State name.# and password, and upload your image. As long as you have the Use OPIC box checked off in your website’s user profile, it will display that photo.

Using the Image Override
For users who prefer not to use OPIC, there is also an image override function located just above the Use OPIC box.
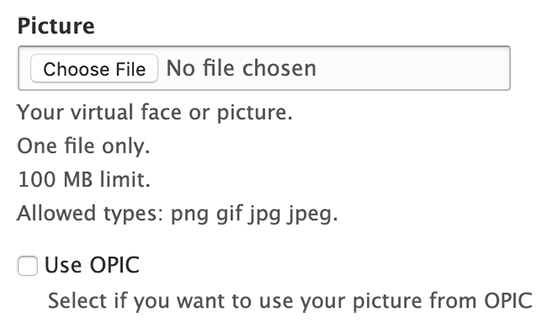
To utilize this you’ll want to:
Uncheck the “Use OPIC” box
Have a 600×800 width by height image ready
Click Choose File to upload your image. Once it’s on the website, make sure to fill in only your full name into the Alternative Text field that appears.
This helps screen reading software recognize that the image is you! This is important for accessibility compliance.
You might notice a white plus sign in the middle of your image.
This is the focus point and it determines where the crop happens on the main directory page. You’ll want to place this directly in the center of your face.

Bio
Next up is our Bio area. Here you can put a short summary about yourself and what you do in the department.
We encourage people to use this as a high-level overview of themselves, NOT as a personal website.
For a complete experience creating a personal website, please utilize the free U.OSU web platform.
Many of the Bio functions are very similar to programs like Word. You have the ability to bold, italicize, bullet-point, align text, etc. However, there are a few very important considerations for accessibility to keep in mind.
Please review the Basic Pages: Part 2 video from our Content Editor training. While focused on the Basic Page, the Bio field functions exactly like the Body field there.
It really is imperative you pay attention to the information in the video. Without it, you will not know how both accessibility and media work in the Bio field with the former being especially important legally!
Professional Information
The Professional Information section houses multiple fields for you to enter items like Job title or education. Just make sure that when adding social media like Twitter, you use the full URL. Just using your @username will not link to your account.
Contact Information
Finally the Contact Information section houses such things as phone number and office information.
The address field itself is what will generate a Google Map on your profile. Make sure to keep the room and building in it’s respective field and you’re good to go here!