Getting more mileage out of your Zoom meetings is easy. Video-sharing services like YouTube make it a breeze to share meetings and webinars with a wide audience which helps Extension broaden and deepen impact while increasing ROI for time spent on digital programming. As OSU Extension faculty and staff become more comfortable using Zoom, we are getting more questions about how to upload and share recorded meetings and webinars. I wanted to share some basic workflow options for recording, uploading, and sharing Zoom recordings.
Finding Your Recorded Meetings
You have two main options for where to save your recorded Zoom meetings. You can choose to have all files saved to the default Zoom documents folder or you can select a custom location. If you use the default Documents/Zoom folder, you’ll be able to easily access and convert your files from your Zoom desktop client. (Please note, if you move your video file to a location other than the original location in which the file was saved, you will not be able to access you recordings from the Zoom client as the “recording path” will be altered.)

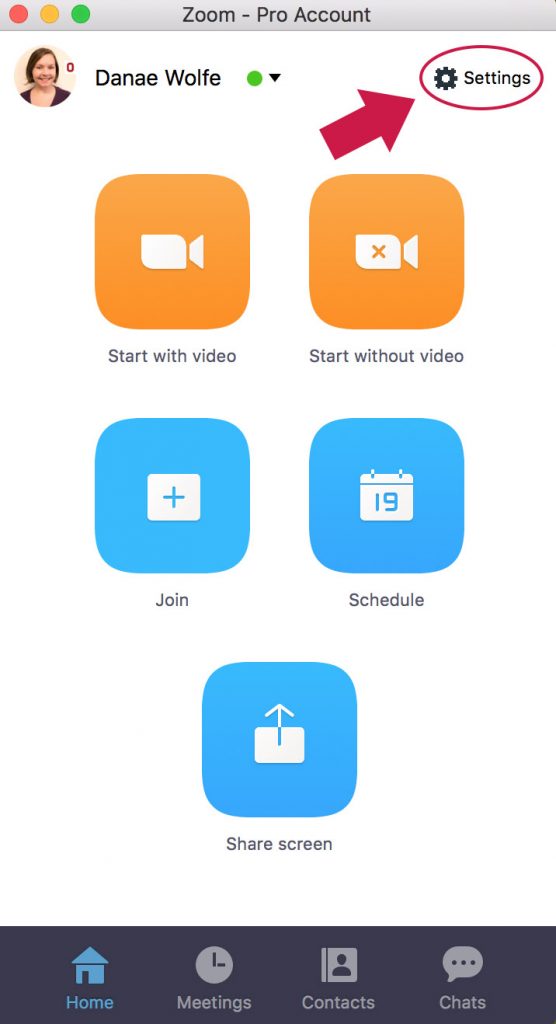
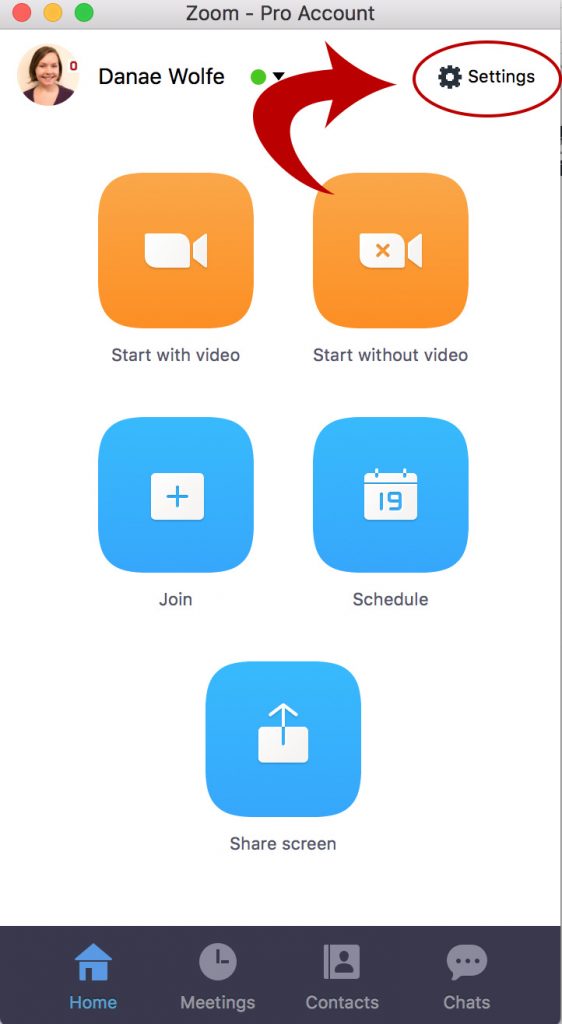
I have my own workflow for saving and editing my recorded Zoom meetings, so I have selected to have all meetings saved to my desktop where I can easily find the files. From there, I edit the videos, upload them to YouTube for sharing, and save the original file in an appropriate folder on my computer or Box Sync. If you’d prefer to change your default settings, open the Zoom desktop client (visit the CFAES Zoom Portal to download the desktop client) and open settings.
From the settings window, click the “record tab” and choose a new location to save your recordings. You can also select the option to choose a location for your recorded file when your meeting ends.

Immediately following a recorded Zoom meeting or webinar, your meeting will begin to save in your chosen location.
To get a usable video format, you’ll need to “convert” the video file. From the Zoom desktop client, select “convert” under the recorded meeting you’d like to convert. If you access the file directly from your computer (as opposed to through the Zoom desktop client), click the file and it will automatically begin the conversion process.
To learn more about recording Zoom meetings and accessing the recorded files, visit the Zoom help page.
Editing Your Recording
For many of my recorded meetings, I like to add a properly branded intro or outro. To do this, I use Adobe Photoshop to create a branded graphic to play at the beginning and end of my video (see video below as an example). You can use tools like PowerPoint or Canva to easily create branded graphics. Save the image as a JPG or PNG.
To add graphics or edit your video file, you’ll need an appropriate video editor on your computer. Macs come standard with iMovie, which is my video editing program of choice. We recommend Pinnacle for PC users for its ease-of-use. With video editing software, you can cut parts of your recording, trim dead space at the beginning or end of the recording, combine multiple recordings into one file, add graphics, titles slides or music, and much more.
Uploading Your Recorded Meeting
When you’re finishing editing your file you’ll want to save it in a file format appropriate for uploading to the video-sharing site you plan to use. The Ed Tech Unit uploads our videos to YouTube since most people are familiar with the platform. YouTube is intuitive, easy to use, and offers various privacy settings for videos.
To upload videos to YouTube, you’ll need to sign in with a Google account and create a YouTube channel. Learn more about creating a YouTube channel here. Once you’ve created a YouTube channel, you can begin uploading and sharing your recorded Zoom meetings and webinars. Learn more about uploading your videos here. While YouTube accepts multiple video formats, we tend to use MP4. For a list of additional acceptable formats, check out YouTube’s list of supported file types.
When you upload a new video, you’ll have the option to create a title, description, and tags, all of which help others find your video content in a YouTube or web search. You can also select one of three privacy settings.
Public: Anyone can see and share video
Private: Only the users you select can see your video
Unlisted: Only users with video link can see your video
If you record and upload a meeting and do not want the video to be searchable or viewable by a wide audience, I recommend selecting the “unlisted” privacy option and sharing the video link with the appropriate audience. Learn more about privacy settings here.
Sharing Your Recorded Meeting
Whether you’re sharing through email, social media, or otherwise, it’s vital that you grab the “share” link to properly share a YouTube video. To grab the share link, click “share” under your uploaded YouTube video and copy the link. It’s important to use this share link, as opposed to copying and pasting the URL from the web browser. You can also use the embed code to embed the video directly into a webpage or use the email link to email the video directly to someone’s inbox. When sharing videos in a u.osu.edu blog post, you do NOT need to use the embed code. Simply copy and paste the share link in your post and WordPress will do the rest!

The above is a brief outline of how our OSU Extension Ed Tech Unit records, uploads, and shares our web-based programming. There are numerous programs and video-sharing platforms that you may wish to use, just be sure to follow University branding guidelines and keep in mind that not all meetings are meant to be publicly accessible. It’s always a good idea to let meeting participants know the meeting will be recorded and shared!
Questions? Contact Danae or Jamie.

 If you would prefer for participants’ video to be turned on when joining a Zoom meeting, we highly recommend alerting your colleagues that they will join the meeting with video. This lets people know they should be camera-ready when joining a Zoom meeting.